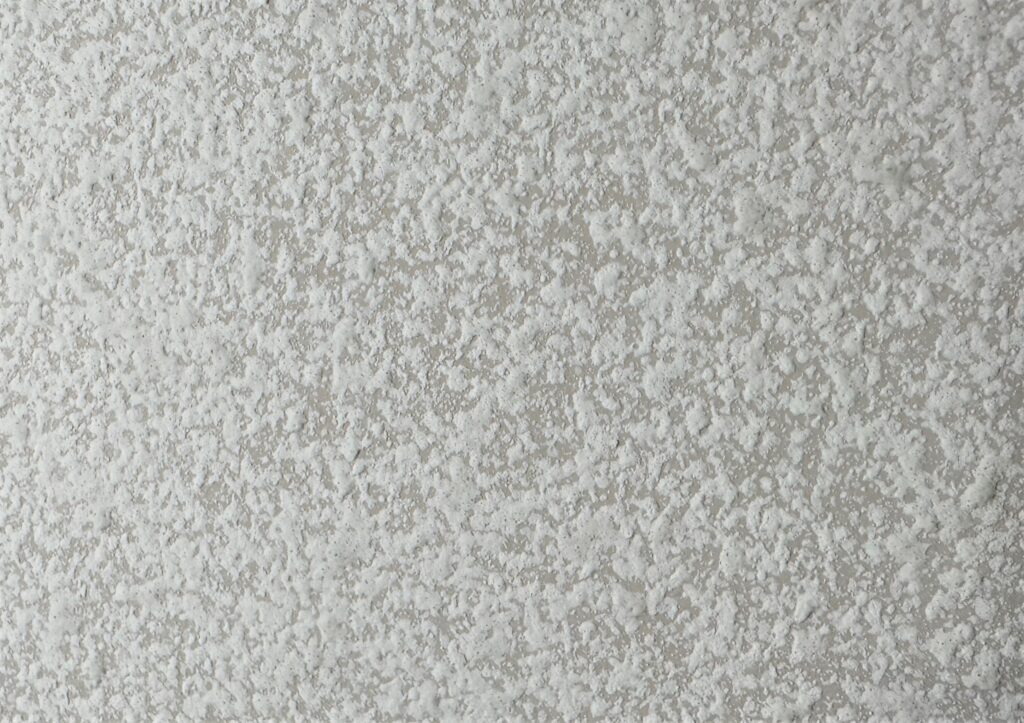
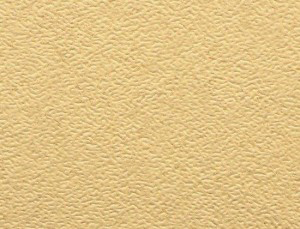
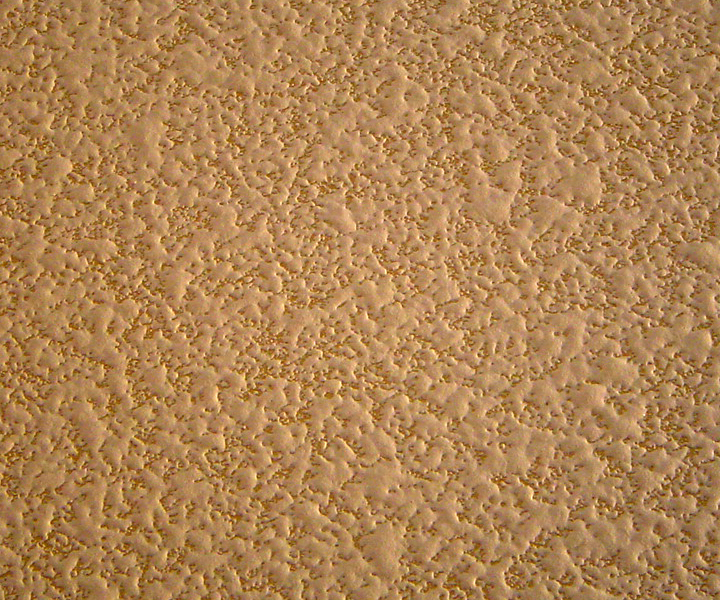
Orange peel texture is a drywall texture sprayed on walls and ceilings to create a surface that is dimpled like the skin of an orange and smooth to the touch.
Sometimes referred to as “eggshell” or “splatter” texture, orange peel is usually applied to interior drywall walls and ceilings.
Interior walls and ceilings feature four common types of texture.
- Orange peel texture
- Knockdown texture
- Popcorn ceiling texture
- Skip trowel texture
- Flat or smooth finish
Orange peel drywall texture became popular in residential construction in the southwestern United States in the 1980s.
What Is Orange Peel Texture?
As drywall texture is pumped through a long hose, a high-pressure air line runs parallel and combines with the texture.
When the texture is forced through a special spray nozzle by the air pressure, small droplets of drywall mud are splattered into small droplets on the wall surface.
The texture dries resembling a peel of an orange.
Drywall Texture – Quicker, Easier, Cheaper
Contractors liked using it because it’s applied with a spray, which is quicker and easier than applying multiple layers of skim coat to create a smooth finish.
It was soon replaced by other methods and today is used primarily in new construction of large commercial buildings and hotels.
But that doesn’t mean you don’t have to understand what it is and how to apply it, especially if you are renovating a home built in the latter part of the 1900s.
In this article, we explore all aspects of orange peel drywall texture. From its benefits, and how to apply, repair, and remove it from a textured wall or ceiling.
The Benefits of Orange Peel Texture Walls
While orange peel texture is considered by some to look dated, it has its benefits:
- Durable: An orange peel finish will make your walls more durable.
- Hides Defects: Orange peel protect walls from dings and cracks because it adds an extra layer of compound. It’s also a popular texture because it also hides nicks and imperfections. That translates into having a finished surface not requiring touch-ups of your walls.
- Easy to Clean: Its simple maintenance makes it a popular choice for hotels and rental units.
- Simple to Apply: All it takes is a single spray application, rather than multiple layers of skim coat.
However, there is a caveat: Orange peel wall and ceiling texture is difficult to match because it relies on many different factors such as temperature and humidity levels.
You would have to recreate all the conditions that existed when it was first applied to the new home to match the exact texture, which is virtually impossible to do.
How to Apply Orange Peel Texture to Drywall
If you have the right tools, some instruction, and a bit of practice, you can get excellent results. Here’s what you need to know:
Tools for Applying Orange Peel Texture
Start by preparing your tools:
- Plus 3 Drywall Compound – This type of drywall mud weighs 25% more but has less shrinkage
- Mixer Drill and Paddle
- Sprayer – We like Wagner Power Tex because it does not require an air compressor
- Painter’s Plastic & Tape – for room prep
- Drywall Sander
- Dust Mask
Prime Your Walls
- After your sheetrock is hung and taped to a level 4 finish, use a sanding pole to sand the walls and ceilings.
- Then remove all dust and debris, so you have a clean surface and flat ceilings and walls to work with.
- Prep the room by covering outlets, taping over light switches, plug vents, and cover the floor with poly or drop cloths.
- You can prime the drywall with a high-build primer to cover surface imperfections before applying the orange peel splatter.
Mix Your Mud – Fill the Hopper
- Fill a 5-gallon bucket halfway with drywall mud and mix in water a little at a time using your mixing drill with a paddle attachment.
- You are looking for the consistency of pancake batter – you want thin mud but not extra soupy. You can figure on one bucket of mud per room.
Do a Test Piece – A Mock-Up
- Start with an orange-peel wall texture test or mock-up board on scrap drywall to see if you are ready to start the spraying process.
- You can tweak various steps in the process, such as adjusting the air valve and the consistency of your splatter.
Spray Texture on the Drywall
- Like splatter knockdown, texture mud is pumped into a special adjustable spray nozzle through a long hose.
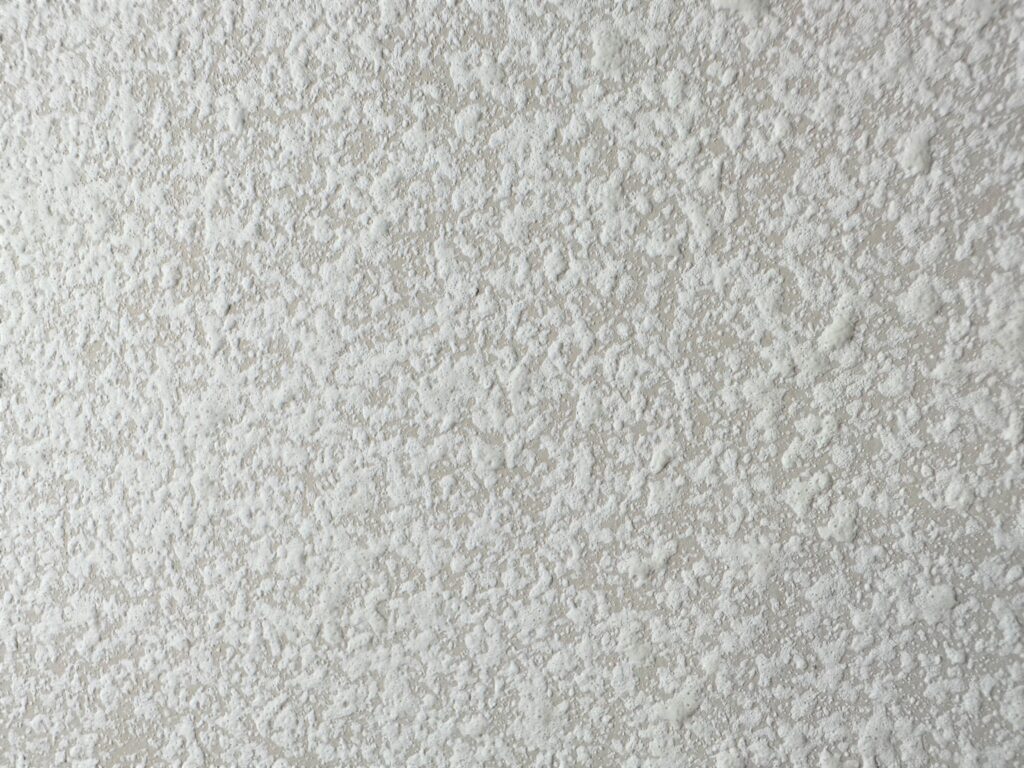
- A high-pressure air line runs parallel to the hose and feeds into the nozzle as well. This is where the air and mud combine, causing the mud to splatter into thousands of tiny droplets.
- When they land on the wall, they merge to form a consistent layer of mud across the surface, which dries into an orange peel-like texture.
- Always use the smallest tip on your sprayer to create smaller droplets. This nozzle tip is smaller than the one used for a knockdown.
- High air pressure results in a uniform film rather than individual globules. The trick is to keep the spray consistent across the entire surface you are covering.
- Set your air compressor to 100 pounds, and you’ll be in good shape.
Orange Peel Wall Texture Spray Tips:
- Position your texture spray gun approximately 3 feet from the surface you are spraying.
- Once you start spraying, do not stop until the space is completely covered. Use steady motion for proper consistency.
- Overlap around 50% on each pass.
- Start with a thin layer and even coat, and add more texture as needed.
- Use a hopper texture sprayer gun to reach small areas.
After spraying, allow the orange texture to dry. It can then be primed if it hasn’t been already, and painted, just like any other surface.
You can use a roller instead of a hopper gun, but chances are the results will not be as satisfactory.
Orange Peel Texture Vs. Knockdown Texture
These two common drywall textures are very similar, except orange peel is slightly easier to apply.
While knockdown wall texture has one more step, known as “knocking down” the sprayed-on texture, orange peel is finished as soon as you spray it on.
The advantage of knockdown texture is the ease of patching and blending if repairs are needed.
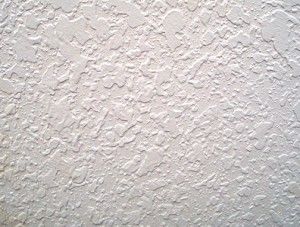
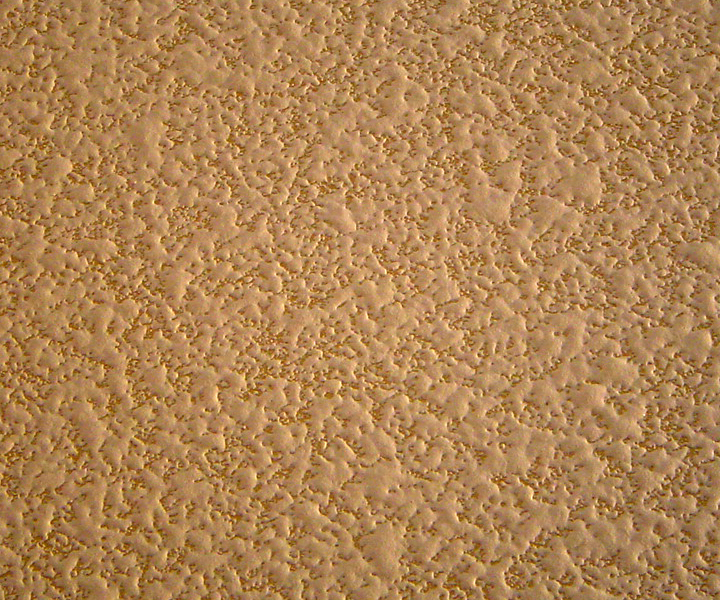
Orange peel is a bit more challenging to match after the fact. The orange peel spray texture is easier to see when applied over one small patch.
Therefore, it looks like a patch and not one original finish like the knockdown would look.
You could make the comparison to popcorn ceiling texture, where the final finish is sprayed, and whatever pattern develops while you are spraying, you are stuck with.
Popcorn texture ceilings are also difficult to patch during drywall repair, much like orange peel texture.
How To Remove Orange Peel Texture
Now that you understand how to apply orange peel texture to your walls, let’s explore how to remove it.
We recommended using an electric drywall sander rather than doing it by hand. By attaching it to a shop vac, you will eliminate the dust generated by the process.
Start by using a low-grit sanding disc, ideally 60 or 80 grit. You can gradually work your way up to between 180 and 240 grit for a very smooth surface.
Usually, one pass is sufficient. Next, inspect your work visually, looking for patches of roughness. You can also run your hands along the wall to feel for any rough spots your eyes did not pick up.
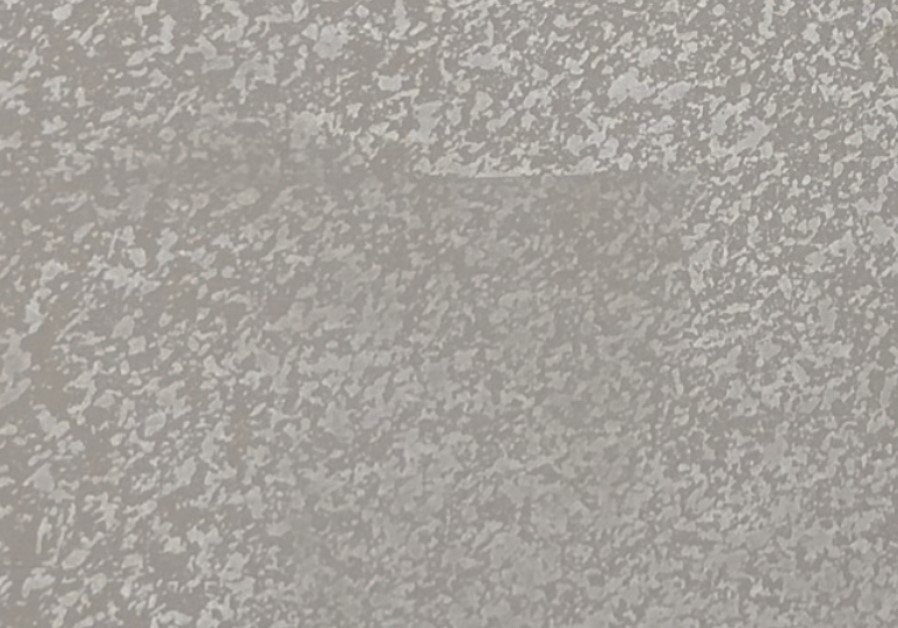
Another technique is to shine a light on the wall – any imperfections you missed are sure to stand out.
If you are not satisfied with the smoothness, add a skim coat over the wall texture to return to flat walls.
Orange Peel Texture Repair Methods
For the weekend DIY project, it’s not hard to tackle a wall or ceiling repair with an orange peel texture. But even the most experienced homeowner should practice first.
The biggest problem you will encounter is the difficulty of matching the original texture exactly. You may want to practice on a test piece first to see how close you can match your texture to the original.

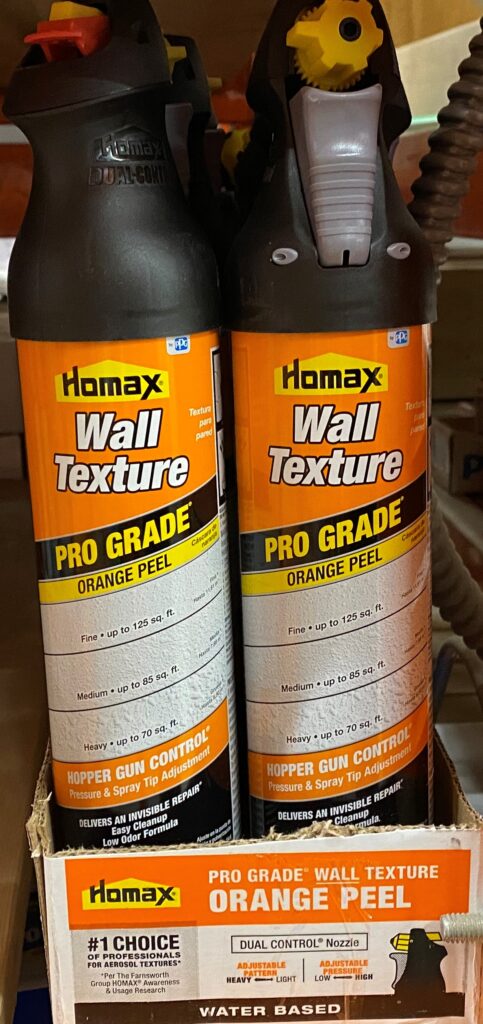
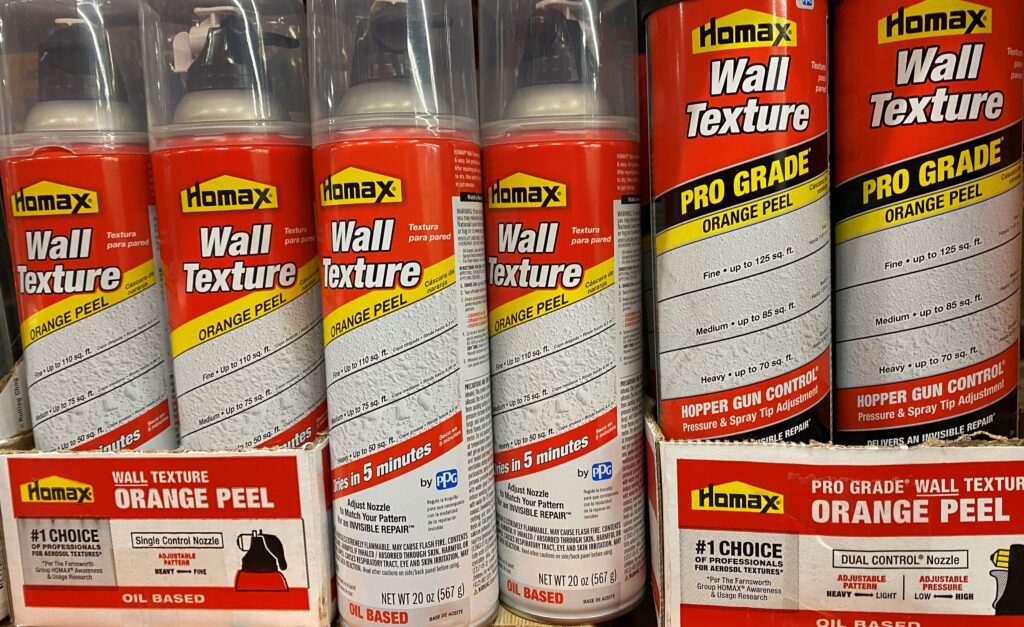
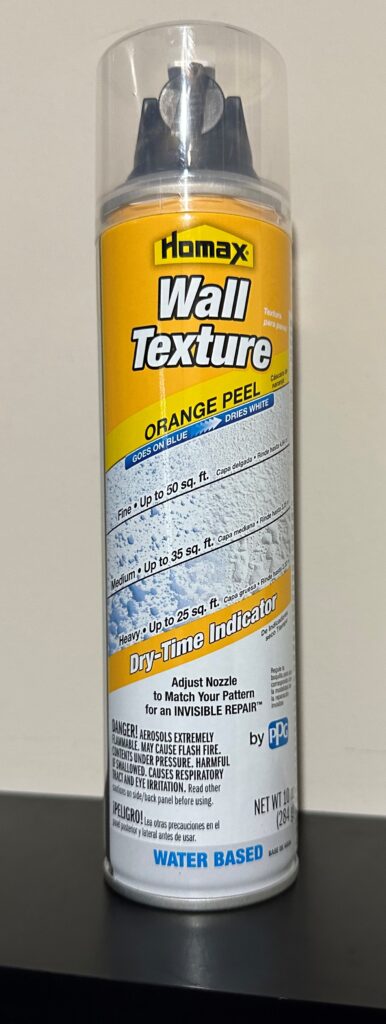
Orange Peel Texture Repair Spray Can. The product by Homax is a low odor, water-based formula with an adjustable nozzle, packed in a 20 oz. aerosol can.
Your choices for application are a rolled-on orange peel or a can of spray.
If all you need to do is a hole to repair, you can find products designed specifically to cover small areas of around 10 to 15 square feet.
Orange Peel Texture Repair Prep
First, locate and repair any underlying damage to the gypsum board, wallboard, or plaster. Then repair any holes with a drywall patch and compound.
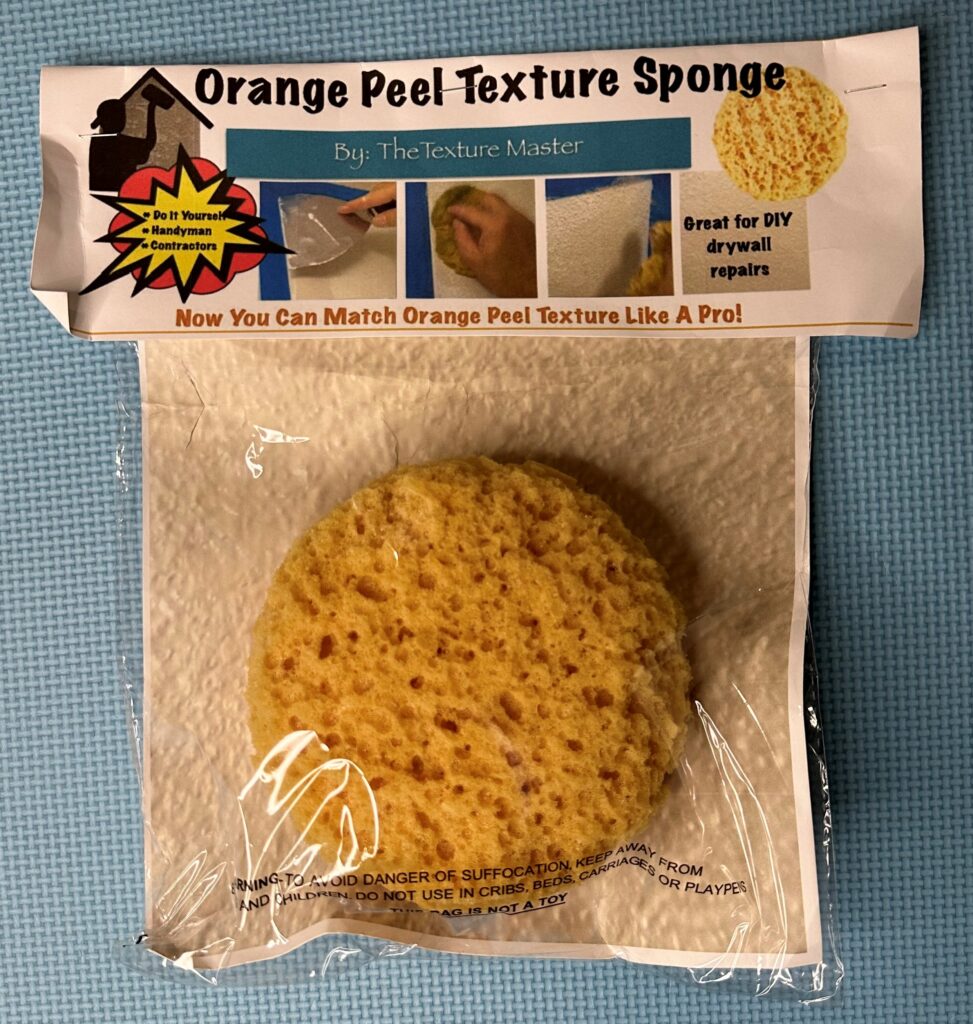
You can also use an orange peel texture sponge, which works great for matching existing textures on small repairs.
If the problem is with the texture itself, whether it’s an abrasion or a gouge, start by repairing the area first with spackle or a ready-mixed wallboard joint compound.
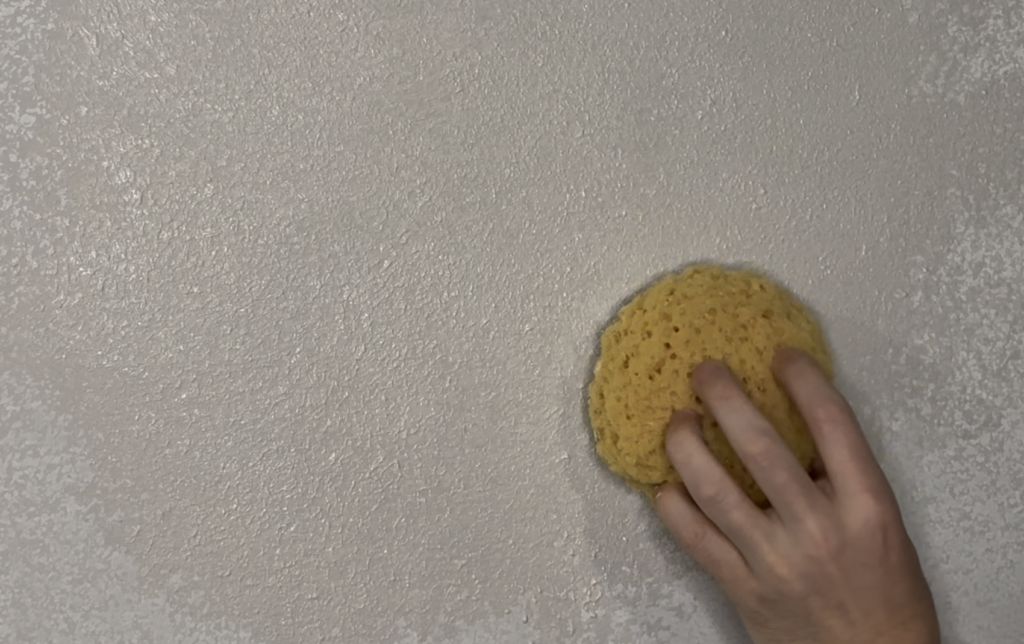
When you’re done, all you need to do is paint the texture in your favorite paint colors. It doesn’t even need to be orange paint!
Roll on Orange Peel Texture Without a Sprayer
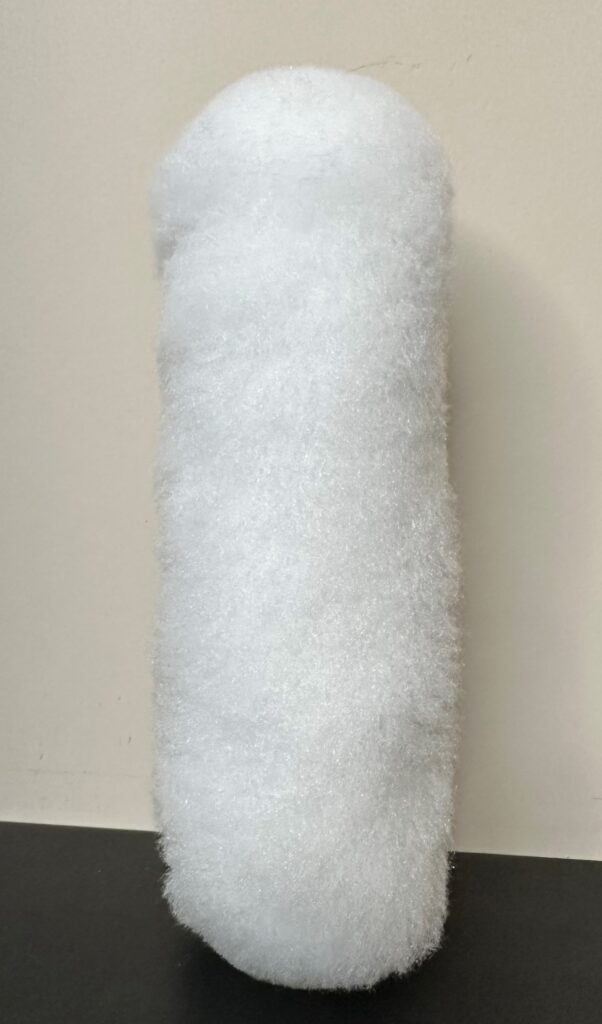
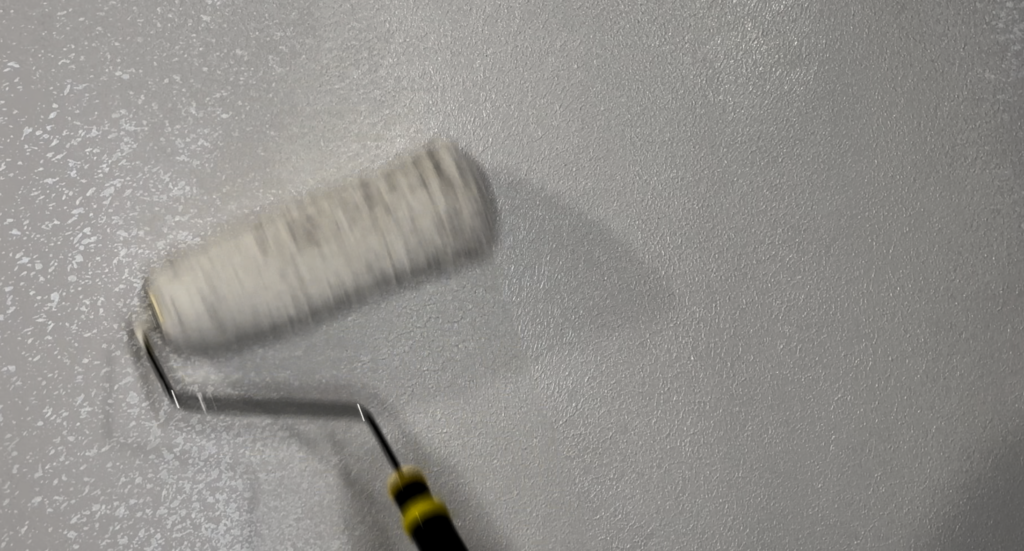
There’s another do-it-yourself option for orange peel wall texture without the mess of a sprayer. An orange peel texture paint roller with a thick nap creates the look of a textured finish.
For accent walls or the sq. ft. of an entire room, an orange peel roller can deliver a unique look without the hassle of equipment and hoses.
Now that you have learned a thing or two about orange peel texture and orange peel texture repairs, you should feel confident that you can apply it to your next home improvement project without any worry.
READ more about other popular drywall products –
What You Need To Know About Ballistic Drywall
Sheetrock Vs Drywall: The Guide To Gypsum Panels
Green Board: The Basics Of Water-Resistant Drywall
Additional Resources –
Is Orange Peel Wall Texture ‘Dated’? – Houzz
Homax 20oz. Water Based Orange Peel Spray Can – Home Depot
Homax Texture Gun and Hopper Pricing – Home Depot
Referenced Products –
Homax Aerosol Orange Peel Wall Texture – Water Based, 10 Oz.
Orange Peel Texture Sponge
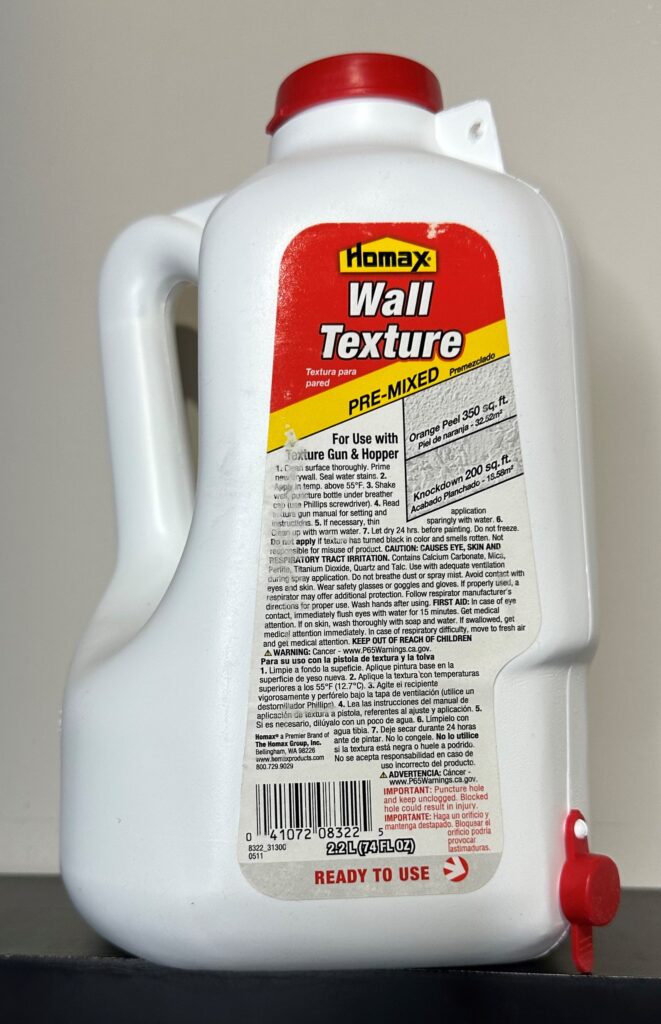
Homax Wall Texture
Wooster 9″ Roller with 3/4″ Nap
