Cleaning up drywall dust is one of the messiest jobs in construction. But you can make it easier on yourself with a few simple guidelines.
Whether you’ve finished drywalling a whole room or are wrapping up a minor repair, working with drywall means cleaning up drywall dust.
Once sanded down, drywall dust gets everywhere, and unfortunately, there’s no way to have an entirely dust-free drywall project.
That being said, there are several ways to best clean up drywall dust and joint compound and a few tips to avoid a mess in the first place.
Preparing the Area For Drywall Installation and Sanding
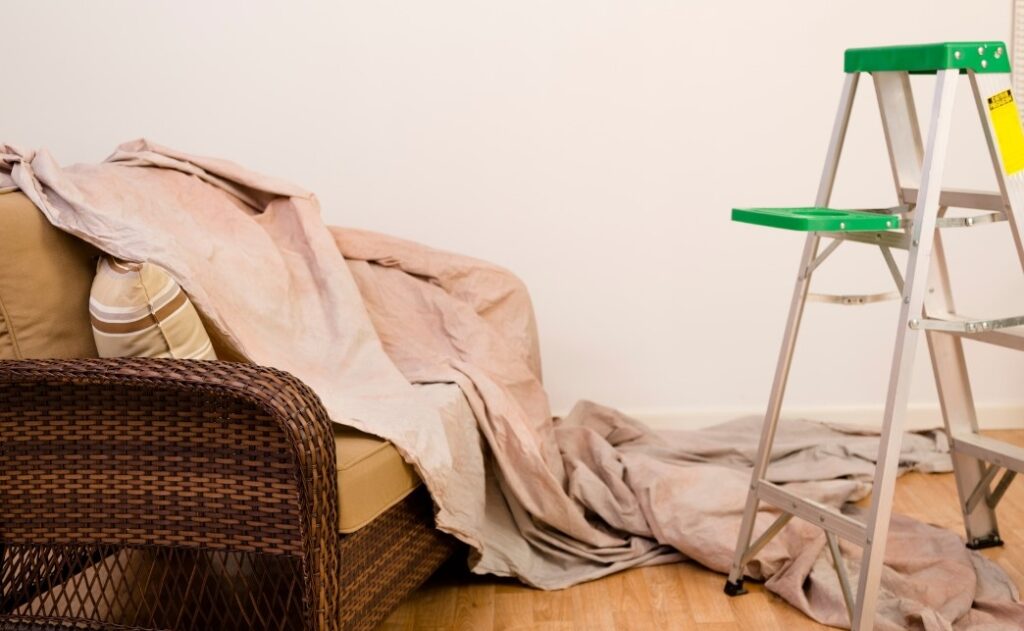
Before installing your drywall, prepare the room by removing all of your belongings. Any articles of furniture that can’t be taken out of the room should be wrapped in plastic and secured with tape.
Take care to get total coverage on furniture when wrapping. When installing or sanding drywall, any gaps in your furniture covering could cause permanent damage from drywall dust exposure.
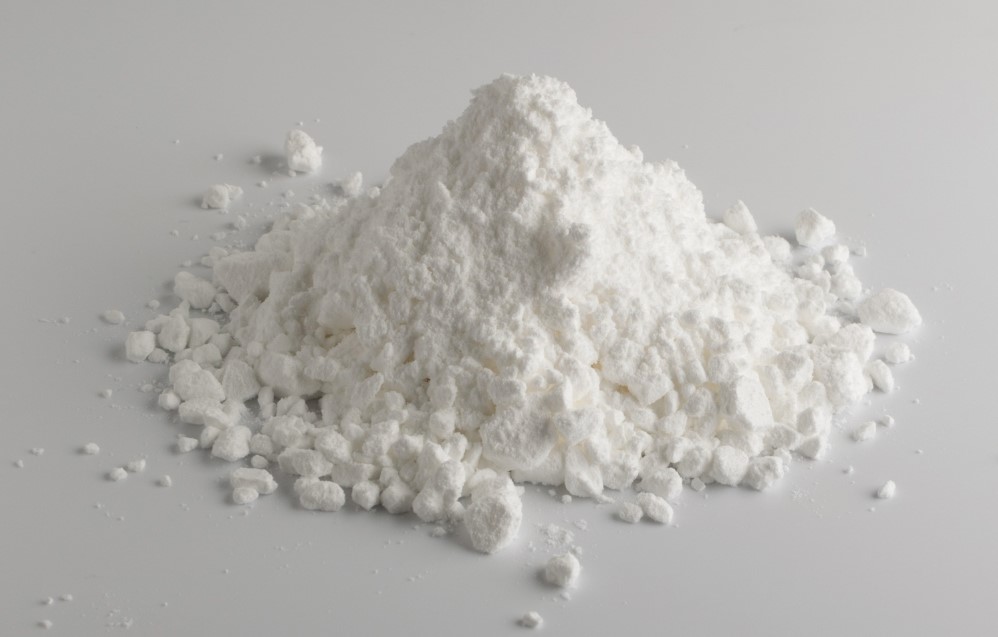
When drywall is sanded down, fine dust or powder made mostly of gypsum, silica, and clay gets sent into the air, settling everywhere.
Use plastic drop cloths to cover the room from the doors to the floor to the vents, making sure to give sheets plenty of overlap when taping together. All entrances to the work area should be covered.
You could invest in a zip-up dust barrier for your remodel. Use it to cover the main doorway to the work area rather than overlapping multiple sheets of plastic drop cloth and taping them shut when working.
Controlling the Dust While Sanding
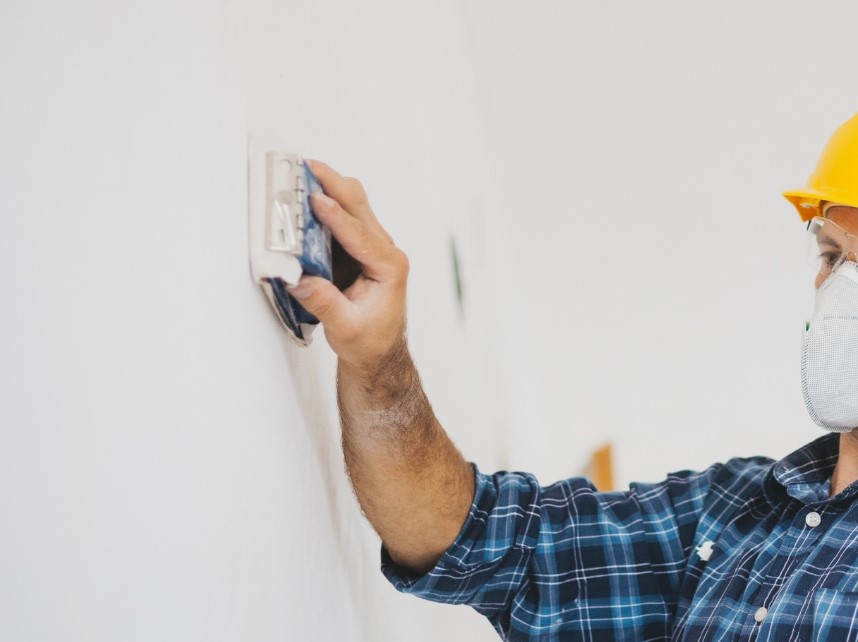
Once your work area is fully prepped with plastic to catch as much drywall dust as possible, the sanding process can begin. Always wear a dust face mask when sanding drywall, so you don’t inhale the fine dust particles.
To control drywall dust while sanding, some sanders have vacuum attachments. These attachments attempt to control dust at the source.
You can opt for wet sanding your drywall outside of using a vacuum sander. Use a thick, lightly wetted coarse sponge or damp cloth to slowly dissolve and loosen excess joint compound.
The process isn’t perfect, and it does take much more time than traditional sanding, but it provides an alternative to sanding that kicks very little dust into the air.
How to Clean Drywall Dust and Joint Compound
When sanded down or drilled into, drywall dust gets absolutely everywhere. Drywall dust is mainly made of gypsum, silica, mica, and paper, but it can cause a good deal of irritation to your eyes and lungs.
DIYers and homeowners working on one drywall and taping project over a weekend might need to be made aware of the dangers of silica.
Still, exposure to large amounts can cause severe health issues, including shortness of breath and possible lung cancer. More importantly, long-term exposure to silica risks developing a pulmonary fibrosis lung disease called Silicosis.
Just like you should prepare your work area before beginning the drywall installation process, you should prepare yourself for the task of cleaning drywall dust and joint compound.
Because drywall dust is super fine, you should always wear eye protection and a dust mask when installing, sanding, and cleaning up drywall.
How to Clean Drywall Dust on the Ground
Whether at the end of a large drywalling job or a small DIY drywall project, you’ll likely find yourself in a plastic-lined room covered in drywall dust.
Working carefully and gently is essential when cleaning drywall dust off the floor.
Sweeping Drywall Dust
Step One: begin sweeping up the drywall dust. Using a soft-bristled push broom is best when sweeping compound or drywall dust.
If you don’t have a soft-bristled broom, you can use a straight or angled broom instead, but either way, you should sweep gently, avoiding pushing too much drywall dust into the air.
Using a light touch, sweep the drywall dust into a single pile on the floor, collect it into a dustpan, and dispose of it in a trash bag or garbage bin outside.
Disposing of Plastic Drop Cloths
If all your drywall dust is contained in plastic sheeting, you can carefully fold the sheeting up from the corners inwards, containing all the dust within.
Once you’ve gathered the folded sheet, you can bring it outside to dispose of or shake it out.
Vacuuming Drywall Dust on the Ground
After you’ve swept, disposed of your plastic drop cloths, or both, chances are you’ll have streaks of white drywall dust on the floors of your work area.
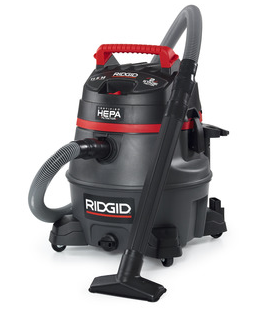
This is where a shop vac comes in. Placing the vacuum outside, feed a 10-15 ft hose into the room and begin vacuuming what’s left of the dust.
A wide shop vac attachment is best for cleaning drywall dust off concrete, vinyl, and hardwood floors. You don’t need to buy an expensive shop vac; most home improvement stores rent quality shop vacs for reasonable daily rates.
If you have hardwood or tile floors, you may need to get a crevice attachment to help clear drywall dust out of the gaps between floorboards or tiles, where it can get stuck in the grout.
How to Clean Drywall Dust on Drywall
The last step of any drywalling job is painting. Before you can paint over your freshly sanded drywall, the dust accumulated on the drywall must be removed.
It’s easiest to remove drywall dust when lightly wetted, but because drywall is faced with paper that does not react well to water, it’s best to use dry methods to clean before wet.
Using a hand brush, sweep dust from the drywall moving top-to-bottom. Sweep up the drywall dust from the floor into a dustpan.
Afterward, take a wide or bristle attachment to a vacuum cleaner and work from the top of your drywall to the bottom. Whenever dry cleaning a large amount of drywall dust, try not to use too much force as a heavy hand can send lots of drywall dust into the air.
As usual, wear a dust mask and eye goggles to protect yourself from dust particles.
For a dust-free clean, use a lightly wetted drywall sponge. It should feel almost dry when you apply it to the wall.
Gently pull the sponge in downward strokes from the top of your drywall to the bottom, frequently rinsing and wringing the sponge.
How to Clean Dried Drywall Joint Compound
The best way to clean dried joint compound is to keep it from getting to this point. Drywall mud is designed to last years, covering seams and securing sheetrock boards.
Once thoroughly dried, drywall mud can’t be soaked off. Your only options for removing completely dried joint compound from drywall are sanding or scraping.
If drywall joint compound has dried onto your drywalling tools, try using a putty knife or a similar tool as a scraper.
If joint compound has dried onto a more delicate surface like a hardwood floors, baseboards, or tile floor, try tapping the top of the dried mass with a rubber mallet or wrapped hammer to break it up.
Then, use a plastic tool to scrape it up from the side.
How to Clean Wet or Semi-Wet Joint Compound
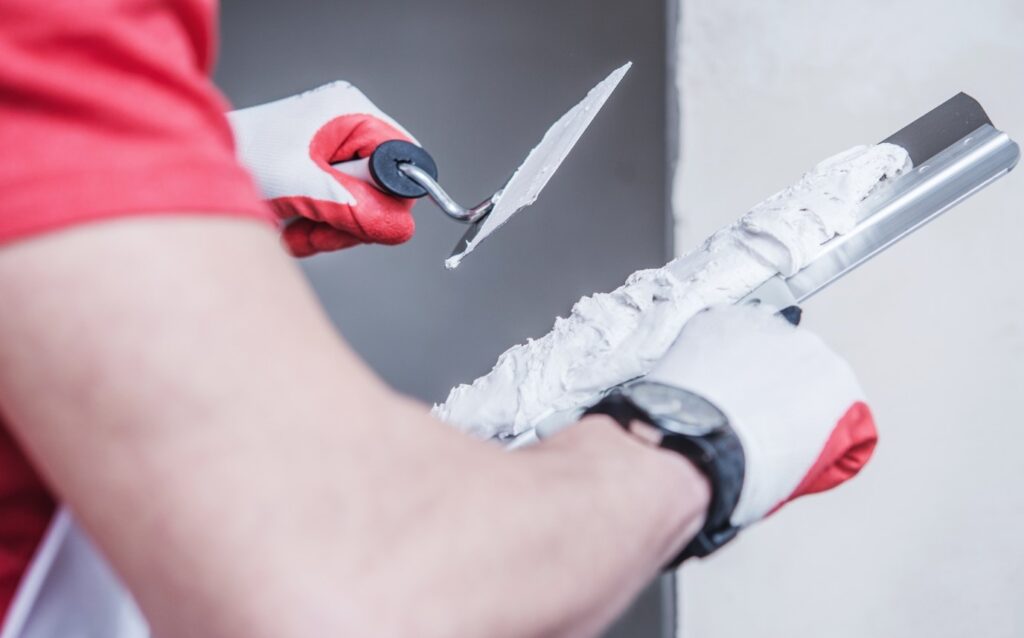
If your joint compound hasn’t fully dried, it can be removed with water and some elbow grease. Spot cleaning joint compound is all about speed; the earlier you catch it, the easier it is to clean.
When applying drywall mud, it’s nice to know a few hacks to keep the mess to a minimum. Have rags or paper towels with you to wipe up any dropped compound as soon as possible.
If the joint compound is still semi-wet and a little goopy, you can use warm, clean water to clean up spills. You can soak your tools like a putty knife in hot water to better scrape off partially dried bits.
Whenever cleaning semi-wet joint drywall compound, use a warm, dampened cloth with a spray bottle or a wet mop to wipe down messes.
Drywall Dust on Doors, Windows, and Ceilings
Working with drywall creates superfine dust that can end up everywhere, from the floor to the ceilings and everywhere in between.
When drywall dust gets on windows, ceilings, door frames, or other annoying areas, the best way to clean it up will be with a shop vac. A regular vacuum won’t have enough power.
If you can reach these areas by hand, you may want to use a tack cloth or microfiber cloth, lightly wetted, to wipe up the dust particles. Otherwise, your best bet is a shop vacuum placed outside with a house running inside.
As a warning, be sure to use a shop vac instead of a home vacuum. If you use a home vacuum cleaner for drywall dust, be sure it has a heavy-duty HEPA filter.
If it doesn’t, there’s a chance the superfine dust could break your vacuum and its warranty.
3 Tips for Avoiding Drywall Joint Compound Mess
1 – Use a Drywall Mud Pan
The best way to keep a work area clean is to avoid a mess in the first place. A mud pan makes the cleanup and the process of applying joint compound significantly easier.
2 – Scoop Less Mud
Once you get to the taping phase of a drywall job, you’re excited to be almost finished with the work.
That being said, it’s important not to rush to the finish. If you apply too much mud to your drywall, you’re more likely to spill some that you’ll have to clean up later.
Even if you manage to avoid errant spills, more mud means more sanding and dust to sweep or vacuum later.
3 – Cover Surfaces
Drop cloths are used when painting to protect surfaces from splatter and drippage.
While joint compound is much thicker and less likely to splatter than paint, drop cloths can still be laid out for the first few feet from a wall being mudded to add an extra layer of protection.
Resources –
Silica 101 – United States Environmental Protection Agency
Shop Vac Shopping Guide – Home Depot


