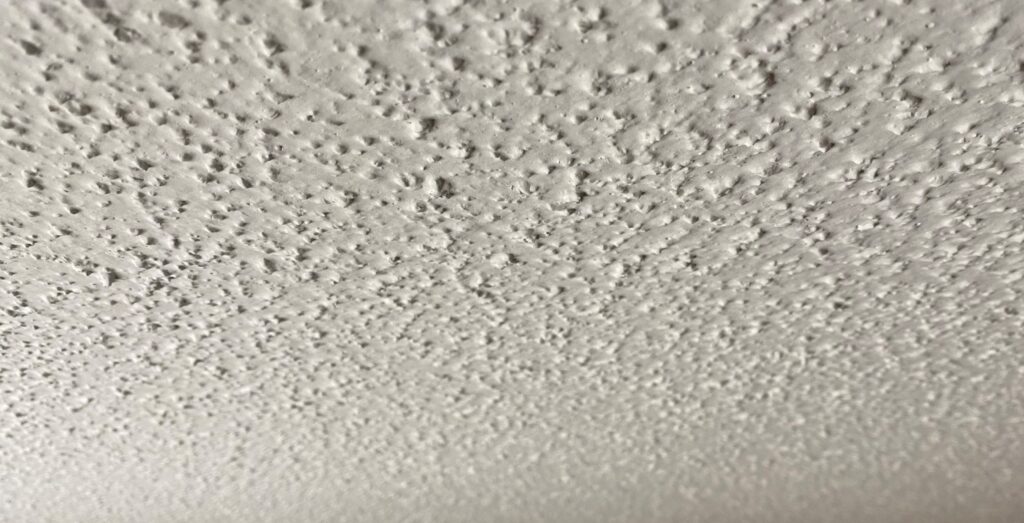
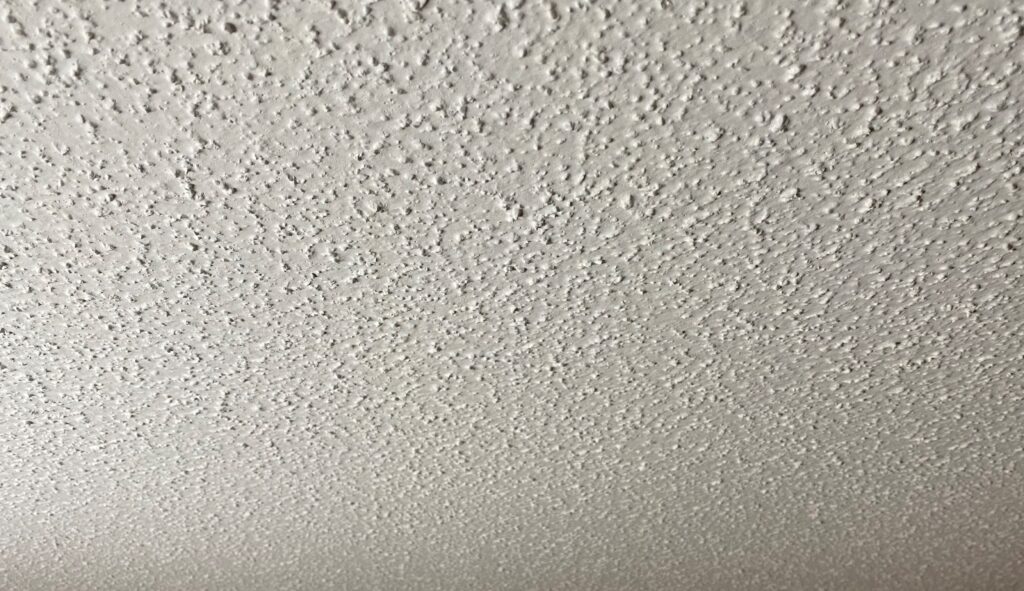
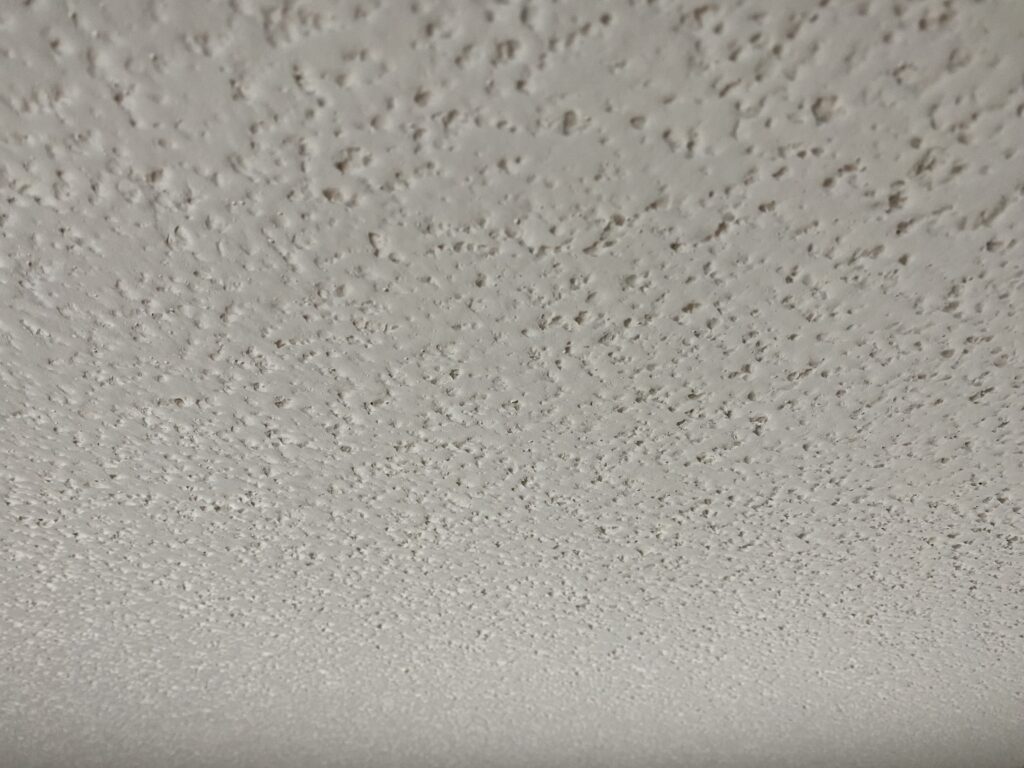
If you are wondering how to remove your popcorn ceiling, we have you covered. While textured ceilings have a place in some rustic home designs, few ceiling finishes date a room like popcorn ceiling texture.
Sometimes called stucco or acoustic ceilings, these crumbly, textured finishes were all the rage in the mid-20th century and have filled homeowners with rage ever since.
Their popularity boomed because the treatment absorbed sound, covered up imperfections in the ceiling, and cut costs since the finish didn’t need to be painted.
On the other hand, popcorn ceilings present several problems in that they attract dust, are notoriously difficult to clean and repair, and are somewhat unsightly.
Thankfully, if you’re interested in some light home improvement, choosing to remove popcorn ceilings is a viable DIY project. While time-consuming, scraping a popcorn ceiling is a simple way to refinish a room with a smooth ceiling.
Before You Remove Popcorn Ceiling
You need to know a few things to remove popcorn ceilings both smoothly and safely.
Test for Asbestos Before You Begin Popcorn Ceiling Removal
Before starting the removal process, have a professional examine your popcorn ceiling or get a DIY test kit for asbestos.
The popcorn ceiling texture is an excellent sound absorber and doubly functioned as a fire retardant, hence the high likelihood of asbestos in the material.
Before the 1980s, lead paints and asbestos were common materials used in home finishing.
If your ceilings test positive for asbestos, you should either get a licensed asbestos abatement professional to remove the popcorn ceiling or consider an alternative removal method, like affixing drywall over it.
Asbestos is a carcinogen, and a known cause of lung cancer, so be sure to wear proper protective material if doing a DIY test.
Consult the Environmental Protection Agency (EPA) for in-depth information on health effects and safe asbestos removal guidelines.
Gather Your Tools and Materials
So long as you’re asbestos-free, you’re good to go on removing that popcorn texture. While this process is time-consuming, the materials needed are basic, and one trip to the hardware store is all it takes.
There’s a chance you may already have all your popcorn ceiling removal tools on hand:
- putty knife, drywall taping knife, or some form of scraper
- painter’s tape
- plastic sheeting or drop cloths
- ladder
- eye protection (safety goggles)
- dust mask
- (optional) spray bottle filled with warm water
- Protect Walls, Floors, and Yourself
The primary method of removing popcorn ceiling is by scraping it off bit by bit. As you may imagine, the process can make a real mess. You’ll want to protect yourself, the room, and your belongings as much as possible during the process.
You’ll want to have plenty of plastic sheeting and drop cloths available to protect the walls and floors of your room from the ensuing dust in the removal process.
Affix the sheeting to the walls with painter’s tape and try to clear the room as much as possible to minimize clean up after the project.
Be prepared for the project to take a long time. Estimates for professionals or experienced DIYers put removing 500 square feet of popcorn ceiling at about 20 hours of work.
While you may not be removing that quantity of popcorn ceiling, the process will take longer if you’re less experienced. Above all, plan on taking lots of breaks.
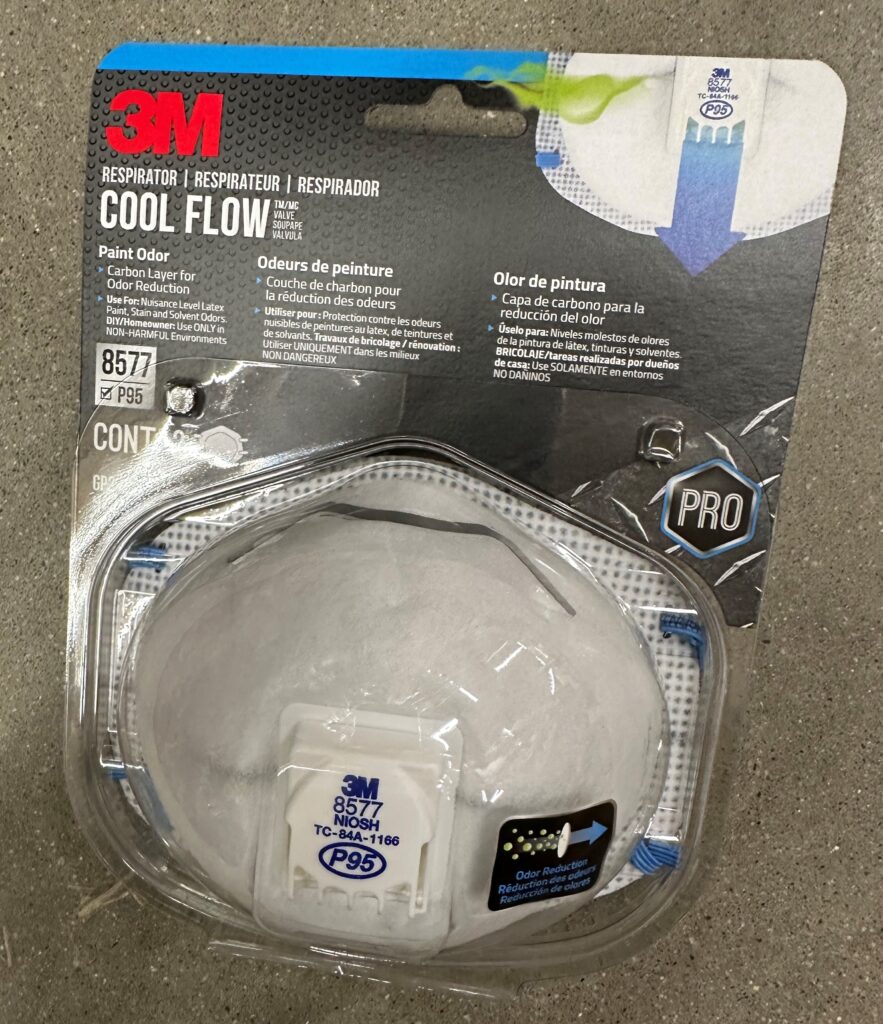
With hours spent on top of a ladder on a multi-day project, it’s important not to overexert yourself during the process. Make sure you wear proper protective gear: safety goggles and a well-fitting dust mask.
Prepare the Workspace
Remove All Furniture and Belongings
First and foremost, begin by removing all furniture from your workspace. Not only will furniture in the room get in the way of the ladder, but the debris from bits of scraped popcorn ceiling would result in, at best, a terrible clean-up project and, at worst permanent damage to your belongings.
If you can’t fully clear the room, pile the remaining furniture in a living room or large area. Then, cover them with plastic sheeting, a tarp, or drop cloths to prevent them from being damaged.
Remove Ceiling Fixtures
Your room may have some ceiling light fixtures. Shut the breaker to the workspace off, then remove any lighting or ceiling fans. While it may seem easier to leave them in place, they’ll only get in your way during the removal process.
Plus, they’ll get covered in popcorn scrapings, making clean-up much worse.
If you have any recessed lights, stuff them with newspaper to protect them from water if you spray your popcorn ceiling.
Protect Electrical Boxes
After shutting the power to the workspace, cover electric boxes or any other exposed wiring areas with painter’s tape.
This will help to keep them clean during the popcorn removal process and safe from any errant water spray.
Overlap the sides of the box with painter’s tape and trim the edges with a utility knife to ensure you can scrape all the popcorn ceiling around it.
Open Windows and Cover Vents
For easier breathing during the DIY project, open windows in the room.
That said, you don’t want your HVAC system circulating dust, so it’s essential to turn off your HVAC and cover vents and electrical outlets with plastic sheeting.
Cover the Room With Sheeting
Scraping popcorn ceiling creates a mess, so make sure you put plastic sheeting or drop cloths on all the walls and floors, affixing corners with painter’s tape as necessary.
Plastic sheeting is recommended over canvas drop cloths, which can absorb water from spraying and scraping.
Once the ceiling has been scraped, please don’t remove the plastic sheeting so that it can catch any other mess made in the patching and repairing process.
Remove the Popcorn Ceiling
As mentioned before, the popcorn ceiling removal process is a time-consuming one. Once the room is prepped, the tools are on hand, and the protective gear is on, you’re ready to go.
There are two methods of scraping popcorn ceilings: wet and dry. Experts vary on which is the preferred method.
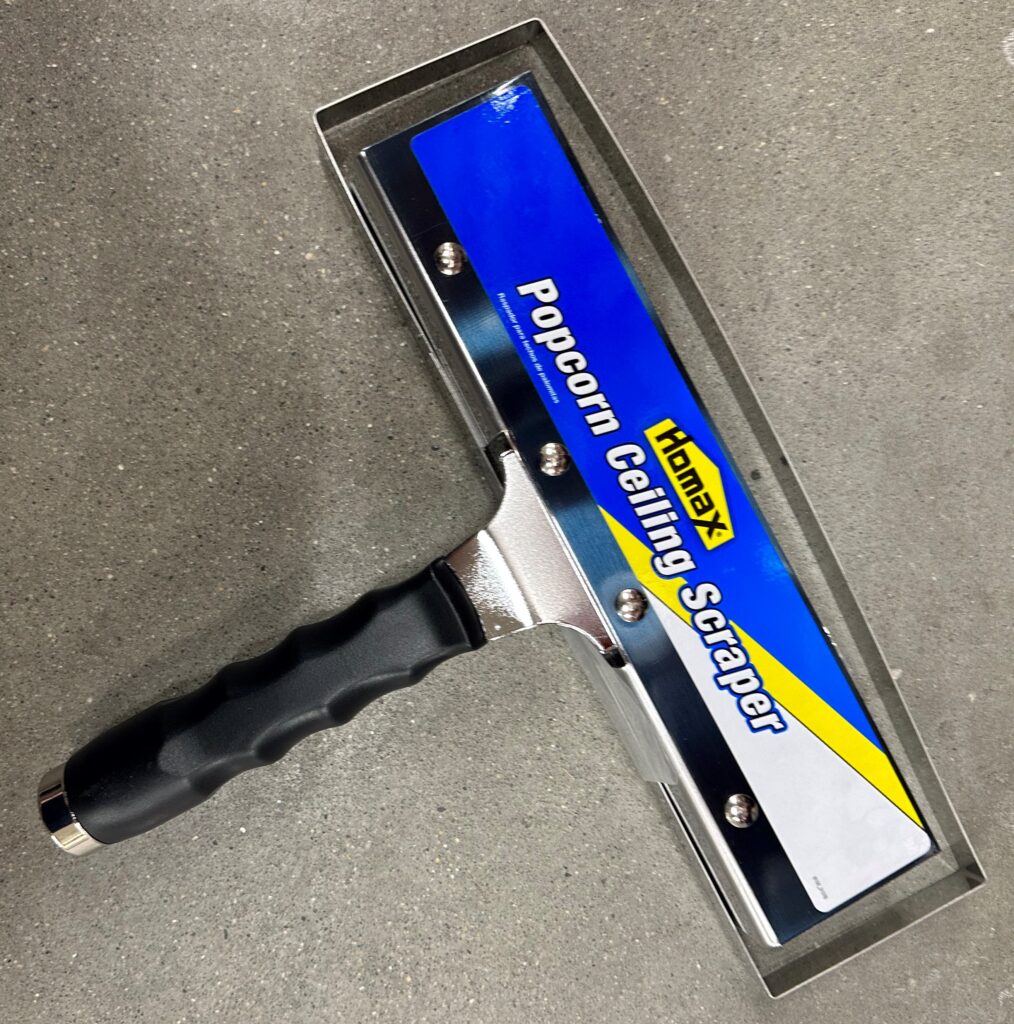
Wet scraping the ceiling produces much less dust and a quicker, cleaner removal process. However, if you wet the ceiling too much, the water can soak into it, causing it to become heavy, expand, and crack.
Dry scraping popcorn ceiling takes more time and coats the room in much more dust than wetted popcorn mud, but there’s less risk of damaging the ceiling drywall.
Wet Scraping Popcorn Ceiling
If you wet scrape your popcorn ceiling, use a spray bottle or garden sprayer filled with warm water and wet a small area, about 3 or 4 square feet.
Be cautious not to soak the area too much and cause water damage to the drywall beneath. Working in small sections will make the project more manageable and keep the ceiling from drying up before you can get to it.
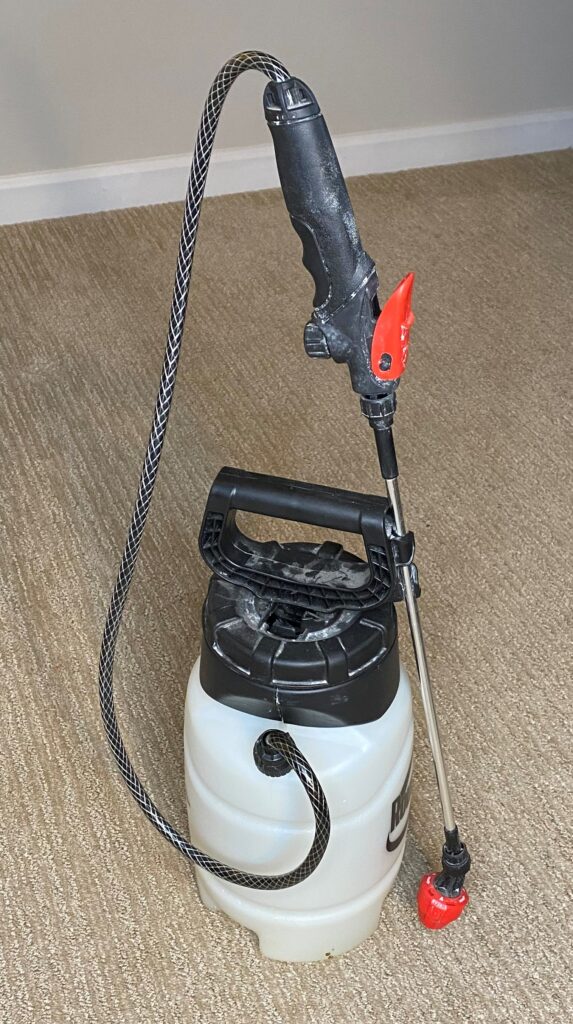
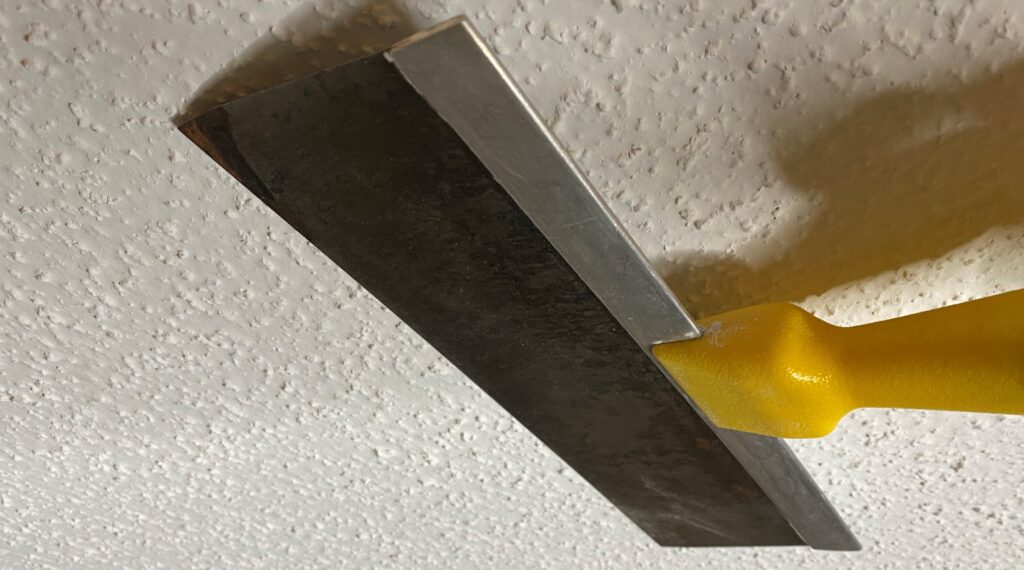
Once wetted, wait 10-15 minutes before scraping. Take your putty knife or whatever scraper you have on hand and run it along the ceiling gently, avoiding gouging the ceiling as much as possible.
Spray, wait, and scrape in small sections until you’ve covered the entire ceiling. Some sections may need a couple of passes to clear up entirely.
Dry Scraping Popcorn Ceiling
The process of dry scraping popcorn ceilings is more straightforward than wet scraping.
While still careful not to gouge the ceiling, move in small sections and gently scrape along the ceiling until all the popcorn texture has been removed.
If you want to reduce the risk of gouging, smooth the edges of your scraper with a file or sander.
Patch the Ceiling
Take advantage of the sheeted and prepped room and take care of finishing and taping the ceiling now.
Chances are, you’ll have some damaged drywall tape, gouges, or newly discovered imperfections after the popcorn ceiling removal.
Now’s the time to repair those with a skim coat of joint compound before using a sander to smooth the ceiling down.
From here, add a fresh coat of paint, and re-fixture your newly-smooth ceilings as you see fit.
Cover Popcorn Ceiling With Drywall
Consider covering up your popcorn ceiling with drywall for several reasons. Suppose your ceilings tested positive for asbestos rather than releasing the toxic material into the air.
In that case, applying a new ceiling paneling over the popcorn texture may be easier. It’s also possible that your ceiling may be particularly damaged or need HVAC or electrical rerouting.
In this instance, you can cut directly through the popcorn ceiling without worrying about patching it since it would be covered up anyway. You may also not want to deal with a messy, time-consuming project; all of these are valid.
If you decide to cover up your popcorn ceiling, you can apply ceiling-grade gypsum boards right over the popcorn ceiling.
You’ll need to be prepared to install drywall using a drywall lift, screwing sheets in, mudding, taping, sanding, and painting.
While drywalling a ceiling is a DIY project in and of itself, it’s a perfectly valid alternative to scraping off your popcorn ceiling.
For those about to remove popcorn ceiling – we salute you.
