If you’ve ever wondered how to insulate walls without removing the drywall, I have all your options.
Insulation is a must-have for most modern home buildings, with few exceptions. Not only does insulation add comfort to your home, but it also reduces energy bills year-round.
Unfortunately, insulation was not so standardized in homes before the 1960s.
If you’ve noticed air leaks and drafts flowing through your outlets, random cold spots in your home, or energy costs that won’t normalize no matter how much you try, it may be about time to check on your insulation.
Uninsulated walls can put undue stress on your HVAC system by causing it to heat or cool a home with a house envelope that leaks air. This is especially a problem in older homes.
Most people’s biggest fear when updating insulation tends to be drywall.
Installing insulation between your finished drywall and outer siding must mean tearing off your gypsum board, inserting roll after roll of wall insulation, and completely re-boarding, mudding, sanding and finishing your home’s interiors. Not necessarily.
Should You Retrofit Your Home’s Wall Insulation
Whether you live in an old house, have noticed cold air where there shouldn’t be, or keep getting energy bills that seem suspiciously high, you might be debating whether to retrofit your home’s installation.
Unfortunately, there’s no correct answer in the debate about installing insulation into your existing walls.
Having uninsulated or poorly insulated walls isn’t eco-friendly because of the heat loss. And it’s not friendly to your wallet either.
But the accumulated costs of removing your drywall, adding new insulation, and re-installing drywall on your walls might be too much of a financial strain to be worth the fix.
Thankfully, not all methods of adding insulation require the money, time, and effort that completely redoing your home’s interiors would cost.
If you undertake retrofitting your home’s insulation as a DIY project, you can save some money in the short and long term.
The average US household spends almost half its energy bill on its HVAC system, heating, and home cooling. A well-insulated house or apartment can lead to big savings on your energy bills for years.
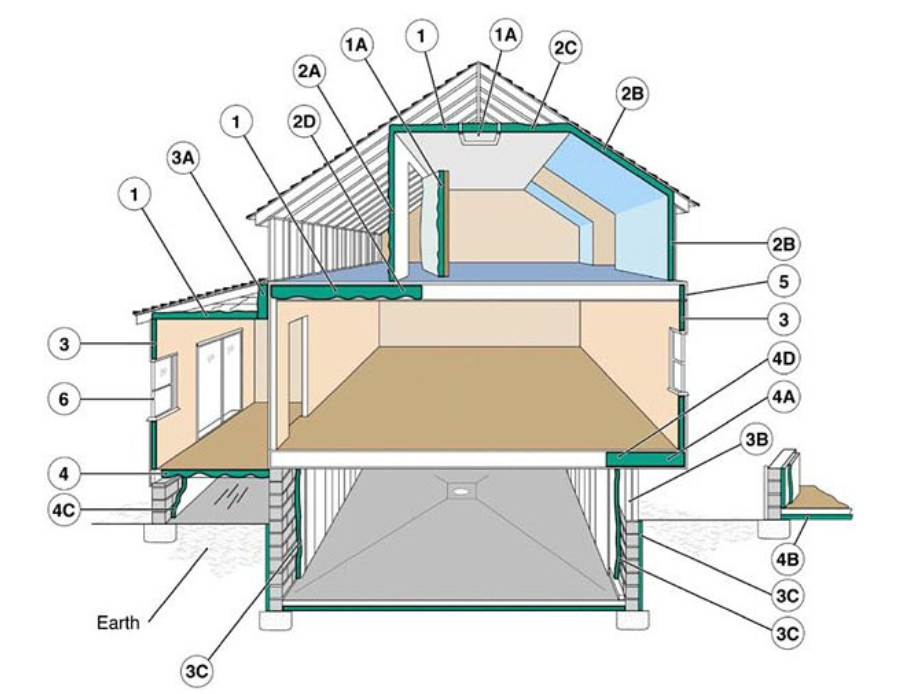
Add Wall Insulation Without Removing Drywall
Several insulation options exist for your home’s walls without removing the drywall.
Most methods involve creating an opening into your wall cavities, typically removing small stretches of exterior siding and drilling small holes to allow insulation to be sprayed into your home’s walls.
The type of insulation that you use will largely determine what the insulation installment process will look like.
Inject Spray Foam Insulation
Spray foam insulation is the best wall insulation to add with minimal damage to drywall or existing walls.
The material starts as a liquid sprayed into your wall cavities and expands as it touches air. Its expansive properties make spray foam insulation better at insulating and air-sealing all voids in a wall cavity.
Spray foam insulation provides one of the easiest and most convenient methods of installing insulation into existing walls.
Unlike other insulation materials such as fiberglass, cellulose, and roll insulation, spray foam insulation can expand into hard-to-reach areas around protruding nails, wires, and boxes.
While spray foam insulation is best installed by professionals, DIY kits for injection foam insulation do exist.
Advantages
- Strong expansion properties let spray foam insulation reach areas that gravity-fed insulation can’t.
- Moisture, mold, and mildew-resistant properties make spray foam one of the best insulation options.
- High R-value makes spray foam insulation an excellent option for even the coldest climates.
Disadvantages
- Spray foam installation requires drilling holes into wall cavities that must be patched.
Recommended Brands
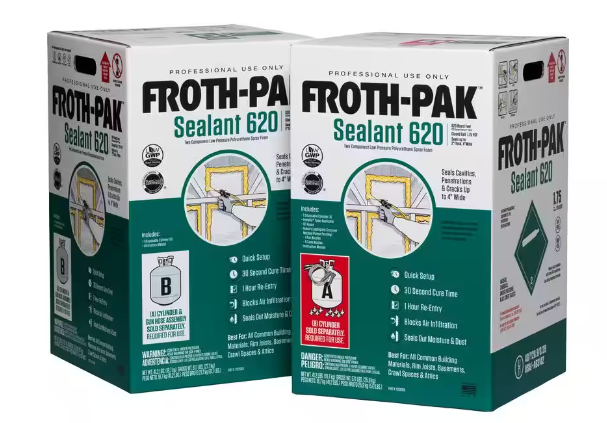
- Touch n’ Foam
- Froth-Pak
- Tiger Foam
Loose-Fill Blown-In Cellulose Insulation
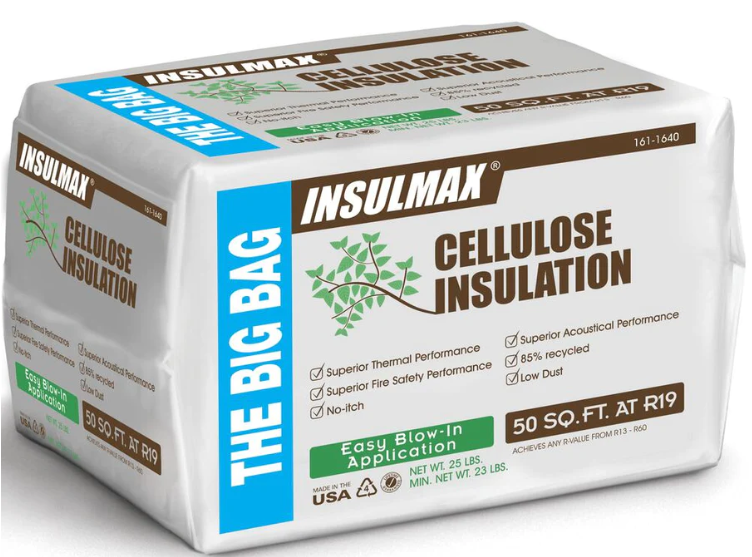
Loose-fill blown-in cellulose insulation combines recycled paper products with boric acid to create a fire and moisture-resistant insulation material.
Much like spray foam insulation, loose-fill cellulose is installed by drilling small holes in interior or exterior walls to gain access to wall cavities. However, loose-fill cellulose differs from spray foam’s price point and longevity.
Advantages
- Cheaper, affordable insulation material
- Moisture, mildew, and pest-resistant
Disadvantages
- Requires a vapor barrier in your home
- Like most attic insulation, loose-fill blown-in insulation tends to settle, creating voids in walls and ceilings, resulting in higher energy bills over time.
Recommended Brands
- Greenfiber
- Applegate
- Insulmax
Fiberglass Batt Insulation Rolls
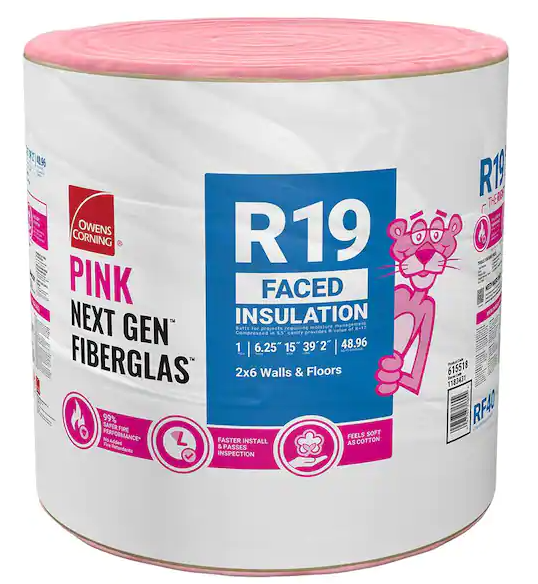
When you think of insulation installation, you’re probably thinking about fiberglass batt insulation rolls.
Typically pink, these rolls of fiberglass or rock wool are unraveled to fit into your home’s wall cavities. This traditional fiberglass insulation material is not the easiest to work with but has several advantages.
Advantages
- Low cost compared to other insulation materials.
- You can make a fun DIY project without a costly insulation contractor.
- It requires a few simple tools to do.
- It gets maximum coverage if able to lay in an exposed wall cavity.
Disadvantages
- Labor-intensive
- Makes a mess
Recommended Brands
- Johns Manville
- Knauf
- Owens Corning
- Guardian
Blown-In Blanket Insulation (BIBS)
Cellulose can be in several forms. Blown-In Blanket Insulation, or BIBS, is a newly patented insulation type for open or closed walls.
The method involves attaching fabric sheaths to studs and joists, creating a cage into which cellulose insulation can be blown. This method creates a dense blanket of insulation that proves to be highly effective.
Advantages
- BIBS materials that have been certified don’t absorb moisture and therefore inhibit mildew growth
- Won’t settle. Whereas other insulation materials have tendencies to settle, BIBS stays expanded to precisely the same size when installed.
Disadvantages
- Specialized system without DIY functionality would not make a great home improvement project for most homeowners to tackle on their own.
Recommended Brands
- CertainTeed
- Knauf
- Johns Manville
How To Insulate Walls Without Removing the Drywall Step by Step
The process of installing insulation into existing walls is known as retrofitting. The process works by cutting access holes into the interior or exterior walls, blowing in loose-fill insulation, and patching the holes.
With the right tools and know-how, homeowners and ambitious DIYers can successfully retrofit their homes, increasing their house’s r-value and energy savings.
As with any DIY project, experience dictates how the process will go and how effective the insulation will be. You can add insulation to almost any of your home’s existing walls, attics, and crawl spaces.
1. Locate Wall Studs
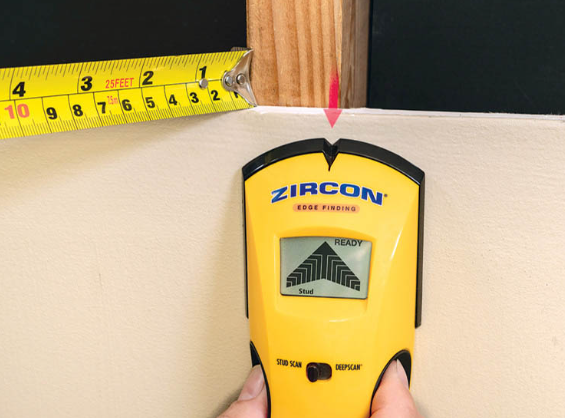
The process of retrofitting insulation begins with locating your wall’s studs.
Because installing insulation involves gaining access to your wall cavities, you’ll need to drill holes into your walls and avoid drilling into wall studs. A stud finder can be an inexpensive life-saver for this step.
2. Find Plumbing Pipes and Electrical Wires
Similarly, before drilling into a house wall, it’s crucial to ensure you’re well clear of any plumbing or nearby electrical wires.
Drilling blindly into your walls could cause structural damage if hitting wall studs. Hitting pipes or electrical wires would be at least inconvenient and, at worst, catastrophic for your home.
3. Prep and Cover Your Work Area
After you’ve determined all the areas where you should not drill holes in your walls, you’re ready to start prepping your work area.
Any drilling process into drywall will involve a sizable amount of plaster dust, making a sizable mess. Move all furniture and household items at least 6 feet from the site you’re drilling into.
Remove any pictures, posters, or framed items from the wall you will work on. Afterward, cover your belongings, walls, and floors (anything that might absorb drywall dust) with sheeting, canvas, or plastic to minimize the cleanup later.
Finally, ensure that you have the proper protective equipment for drilling into your drywall and blowing insulation, a process that can kick up dirt and dust. Be sure to wear eye goggles and a dust mask before drilling.
4. Drill Holes Through Drywall at Interior Walls
Once you’ve located where your plumbing, electrical, and wall studs are located within your finished walls, small holes can be drilled into your drywall.
If possible, save the drywall discs from cutting into your wall. They can be used to patch the holes once the insulation has been installed.
If you can’t save drywall discs for later, get some material or sheathing to plug the hole or a combination of drywall tape and mud to secure the hole after the insulation is blown in.
5. Spray Foam Insulation Into Wall Cavity
Once the holes in each stud cavity you want to insulate have been made, you can spray foam insulation into them.
Spray foam insulation is designed to fit all areas sprayed into, expanding into hard-to-reach areas around joists and studs.
6. Patch Holes
After you’ve injected your foam insulation into your walls, you’re ready to patch up the small holes from the process. If you have a tool that lets you save drywall discs, those are perfect for patching.
If not, another material like rigid foam or styrofoam plugs works well for patching the holes. Place material into the small holes in the drywall to plug them, drywall tape the plug in place, and mud the bunch together.
7. Paint Wall
Wait for the mud to dry over the patches in your walls; the last step is to paint over them to color-match your walls.
You’re done when your walls are even and painted to your liking! Enjoy your newly insulated, more energy-efficient home.
Resources – Finishing Drywall Systems USG


