Do you want to learn how to repair and patch a hole in drywall? You’ve come to the right place. From the slightest scratch to the largest drywall hole, learning drywall repair basics will make your walls and ceilings look like new again.
Before You Begin Your Patch and Repair Drywall Project
Before You Begin your patch, there are a few simple questions to consider. Don’t go through all the hard work of drywall patch and repair only to make your DIY project look awful. Consider this first –
- Will you repaint the entire wall? Or are you looking only to touch up the paint?
- What type of paint are you using after the patch? High-gloss paint will be more challenging to match. In certain lighting conditions, your patch might show or “flash” on the drywall surface.
- If you plan to repaint the entire wall after your drywall patch, consider priming the wall before painting for a smooth, uniform finish.
How to Patch Small Holes in Drywall
The first step is to scrape any loose material away from the patch. Use drywall repair spackle to fill the damaged area. Level the spackle lightly. Most spackle is fast drying, but take your time with it. The patch might require a full 24 hours before taking the next step.
You might discover the small patch is a drywall screw pop or popped nail. We have a full rundown of the screw and nail pop. I’d recommend checking it out.

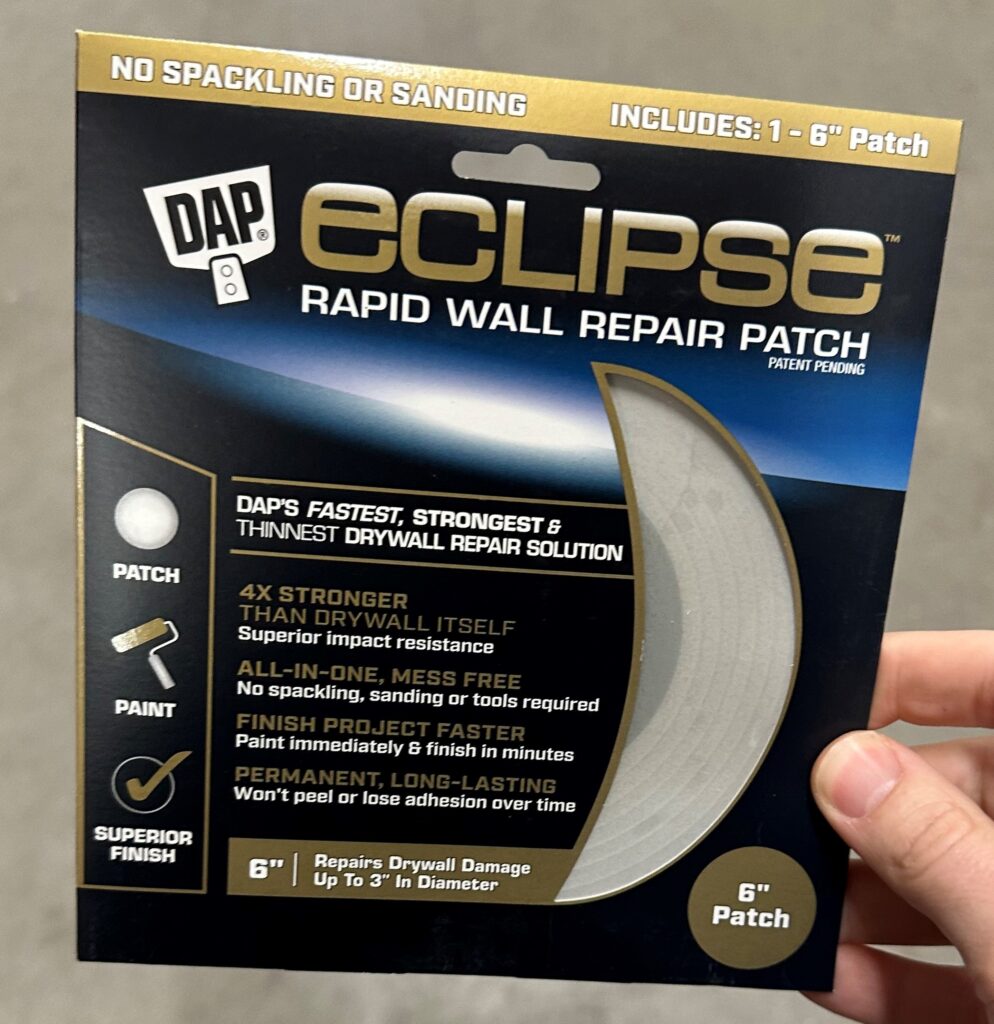
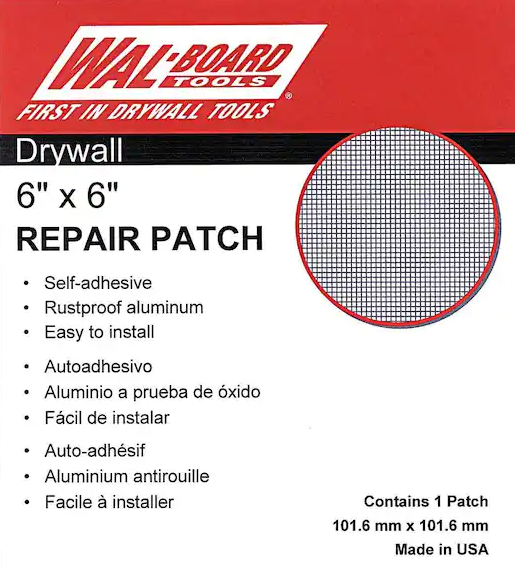
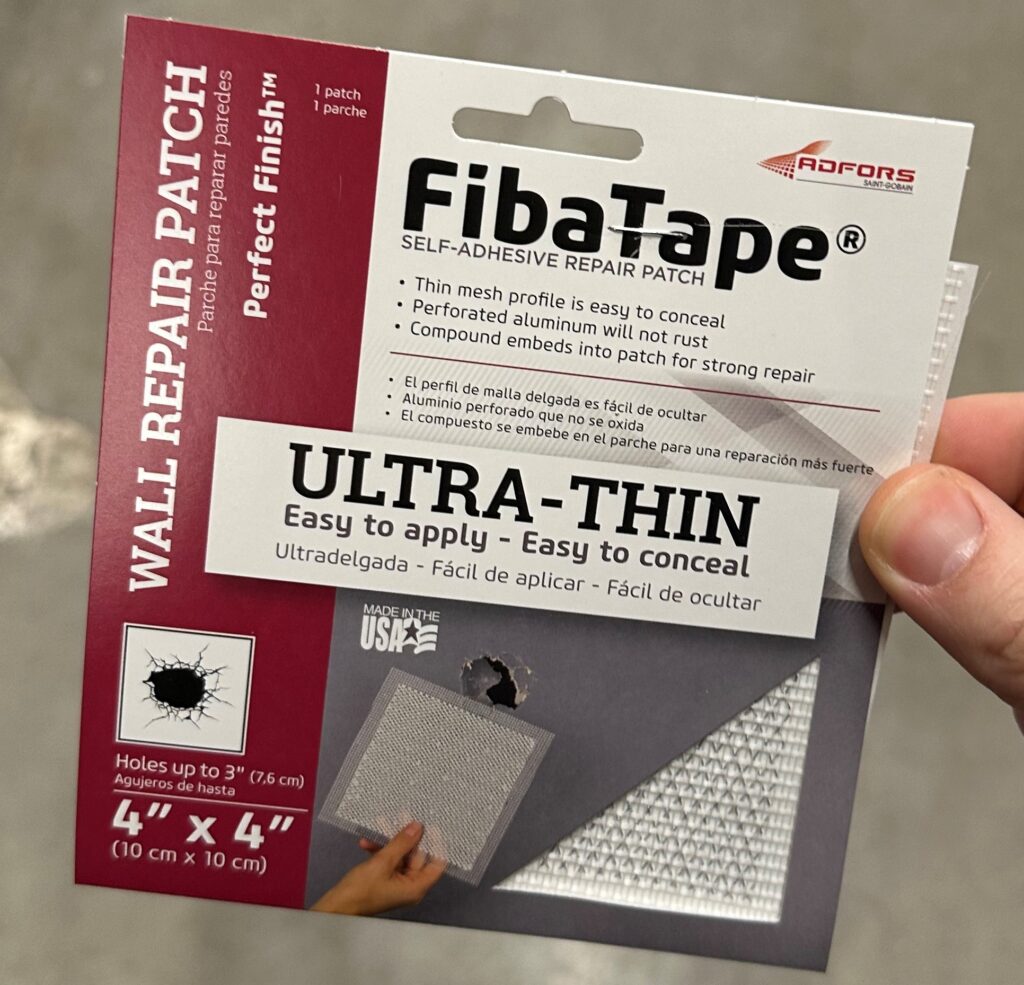
A drywall repair kit might be the answer for drywall patching and repair when the hole is slightly too big for spackle.
For example, a hole from a doorknob can be quickly repaired with a drywall repair kit.
- Apply the adhesive mesh from the patch kit over the damaged drywall.
- Use drywall joint compound over the mesh with a drywall knife. Use light pressure to remove the excess drywall compound, but don’t press so hard to uncover the mesh.
- Feather the edges of the compound for a smooth transition from the patched area to the existing drywall. Let the compound dry completely.
- You may need a second coat of drywall mud. If not, lightly sand the patched area. Be careful not to press too hard, or you will uncover the mesh and will need to apply more drywall mud.
- Once your drywall patch is sanded smooth, paint the patch with a paintbrush, and you’re finished. Your wall repair is complete.

How to Patch Medium Holes in Drywall
Medium size drywall holes are too large for a patch kit. You’ll need to add new drywall. While this may sound quick and easy, learn a few techniques first. It will save you time, avoid frustration, and give you a better-looking wall when you finish.
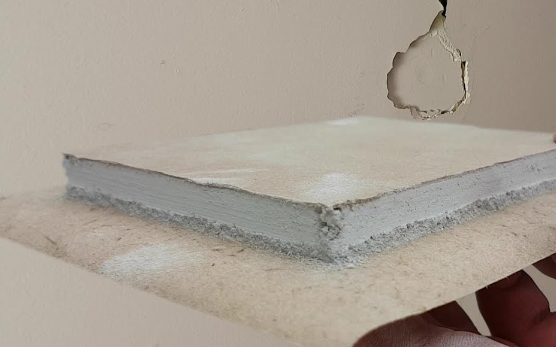
- With a piece of drywall slightly larger than the hole, cut a square about 2 or 3 inches bigger than the damaged area.
- Using a drywall utility knife, score the back of the drywall one inch from the sides. Some refer to this method as the “Butterfly Patch” or “California Patch.”
- Bend and snap the drywall’s border and leave the paper’s front face intact.
- Hold the piece of new drywall over the hole and, using a pencil, trace the new square around each side of the hole. Don’t trace the paper, only the gypsum square.
- Cut away the pencil tracing around the hole’s edges with a sharp drywall keyhole saw.
- With a drywall knife, apply a thin layer of drywall mud to the backside of the edges of the patch.
- Set the new drywall in the hole, and smooth over the paper on the existing wall.
- Apply drywall compound over the entire new patch so no paper is showing. Feather the borders of the patch for a smooth transition to the existing wall.
- You might need a second coat of drywall mud, depending on the shrinkage of the mud after it dries. Once completely dry, gently sand the patch smooth. Use a dust mask for safety and a sanding sponge to reduce drywall dust. Ready for paint!

How to Patch Large Holes in Drywall
Larger holes in drywall require a bit more work. You must install solid backing behind the hole to attach the new drywall. You can’t depend on the paper edges holding the new patched drywall in place.
- Cut the drywall into a square slightly larger than the damaged area.
- With a pencil, trace the square drywall on the existing wall over the damaged area.
- With a sharp drywall saw, cut the traced line around the hole in the wall in a square shape. Be sure to check for any existing electrical wires behind the wall.
- Place wood backing slightly larger than the hole behind the cut-out area. Attach with drywall screws.
- Attach the new drywall patch in the hole and attach it to the backing furring strips with drywall screws.
- Be sure to drive the drywall screws, so the head is slightly below the paper surface.
- Apply drywall mesh tape or paper joint tape around the joint of the drywall patch. Be sure to cover all the screw holes from the backing.
- Spread drywall joint compound over the entire patch. You will likely need two coats of drywall mud to cover the drywall tape. Allow mud to dry thoroughly.
- Sand gently and feather the edges for a smooth transition. Use a sanding sponge to reduce drywall dust. Ready for paint!
How to Repair Drywall
There are a few options when it comes to repairing drywall. Depending on the size of your repair, you can choose from spackling paste or joint compound, or you might even opt for an all-in-one home repair patching kit.
If your drywall has minor damage—such as small cracks, nail holes, or dents—you can use the spackling paste to fill the area and smooth it out. This is a great option for homeowners working on a smaller repair job since it’s easy to apply and dries quickly.
You only need a putty knife or flexible scraper and some sandpaper to finish the job.
Finally, if you want something that doesn’t require mixing or special tools, a patching kit might be for you. These come with everything you need—including a self-adhesive patch and putty knife—and are great for repairs up to 8 inches in diameter.
How to Know Your Drywall Patch is Too Large
If the damage to your drywall is extensive, such as when multiple large holes occur on the same wall or one giant patch is needed, sometimes it makes sense to replace the entire wall with new drywall from floor to ceiling – corner to corner.
Replacing the damaged area with a brand-new sheet of drywall will provide you with a smoother and more even surface, which makes painting much easier. It can also be cheaper and less time-consuming than patching in the long run.
How to Patch Drywall Dents
There are a few simple steps to patch and fix drywall dents. The first step is to get the necessary supplies, which include spackling paste, sandpaper, and a putty knife.
Next, you’ll want to prepare the area by cleaning it with soap and water or an all-purpose cleaner. This will help ensure that the spackling paste adheres to the surface of the drywall. Once that is done, you’ll use your putty knife to fill in any cracks or holes with the spackling paste.
Once the paste has had a chance to dry, you can begin sanding. Sanding will help ensure the area is even and will help create an airtight seal. You may need to apply more spackling paste if needed.
When you are done sanding, you can then begin painting the area. Make sure to use a paint that matches the existing color of your walls. Then let it dry completely before applying a second coat.
Once the paint is dry, your patch and fix drywall dent repair project is complete!
The Best Drywall Repair Joint Compound
When it comes to patching drywall, finding the best joint compound for the job can seem like a daunting task. There are so many choices available on the market today that it’s easy to become overwhelmed.
But don’t worry—we’ve got you covered! We have compiled our top five picks for the best drywall joint compounds to help make your home improvement project as straightforward as possible.
Our first pick is USG Sheetrock Joint Compound. This product stands out for its affordability and ease of use. It applies easily with a trowel or mud knife and dries quickly without cracking or shrinking. Plus, it sands smoothly and has excellent adhesion qualities, making it perfect for any patching job.
Second on our list is Durabond 90-Minute Setting Compound from USG. If you’re looking for a fast-drying joint compound that won’t shrink or crack after it’s applied, this product is a great choice. It sets in 90 minutes and can be sanded quickly to provide a smooth, professional finish. Plus, it offers excellent adhesion for patching holes and seams, making it one of the best drywall joint compounds.
Last but not least is DAP DryDex Spackling Compound. This product stands out for its lightweight formula and no-sag consistency, which makes it easier to apply than other joint compounds on the market. It also sets quickly (in just 15 minutes) and sands easily for a smooth finish that won’t crack or shrink over time. Plus, this spackling compound provides superior adhesion qualities for patching holes of all sizes with confidence.
No matter what kind of project you’re tackling, one of these top five best drywall joint compounds should help repair your drywall as efficiently and stress-free as possible.

Patch Holes in Drywall DIY
Once you have your materials ready, it’s time to start patching the hole in your drywall. Begin by cutting a piece of drywall slightly larger than the hole that needs to be patched. Place this piece into the hole, ensuring it fits snugly and securely.
Using drywall screws, screw the patch into place. Then, using joint compound and a putty knife, fill in gaps or seams between the drywall and the patch. Once your patch is filled in and all edges are even, let it dry before sanding any rough patches with medium-grit sandpaper.
After you’re satisfied with the results, you can cover the entire patch with a thin layer of joint compound and let it dry. Once it’s dry, use smooth sandpaper to remove any lumps or bumps before painting over the patch.


