Knockdown texture is an easy and affordable way to add a little texture to your walls and ceiling. Also known as splatter texture, it has been popular in the United States since the 1990s, a successor to popcorn and orange peel textures.
There’s a lot to know about knockdown drywall finish, especially since there are some misconceptions about it among homeowners and building owners.
For example, some people erroneously believe that knockdown texture is just another term for orange peel texture or aren’t aware that its texture can range from subtle to pronounced.
In this article, we tackle knockdown texture, explaining what it is, where to use it, how to apply it, and offer some of the construction industry’s best tips and tricks.
What is Knockdown Texture?
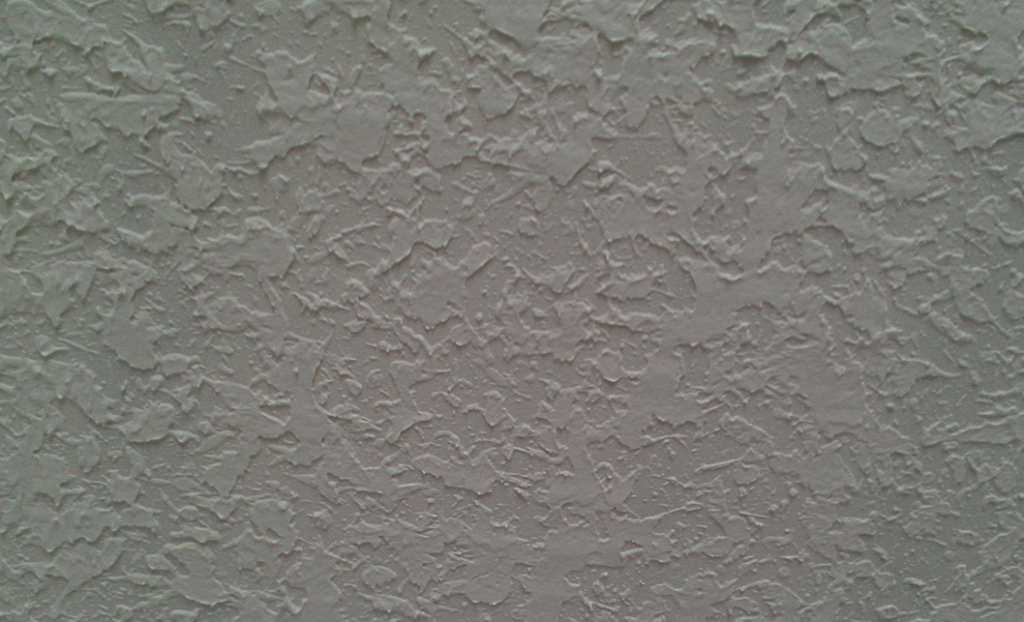
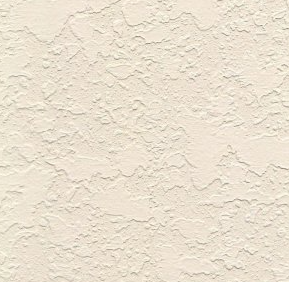
Used on walls and ceiling, knockdown drywall texture creates a surface with a slightly raised or “knockdown” pattern. Aesthetically, it is between a flat texture and an orange peel texture.
It can be achieved by troweling, rolling, or spraying a thinned-down mixture of joint compounds onto the surface with a hopper gun.
Then flattening the stalactite-like peaks of the texture with a trowel or knockdown knife. It can then be painted to any color or left in its natural state.
Orange Peel Texture Guide – Tips & Tricks
The result is a mottled, irregular pattern that creates depth and visual interest while hiding surface imperfections on the drywall. The application of knockdown texture also helps to muffle sound.
Knockdown texture is a sure way for DIY homeowners with basic drywall skills and a few tools to create an attractive new look with their home improvement project.
The Three Types of Knockdown Ceiling and Wall Texture
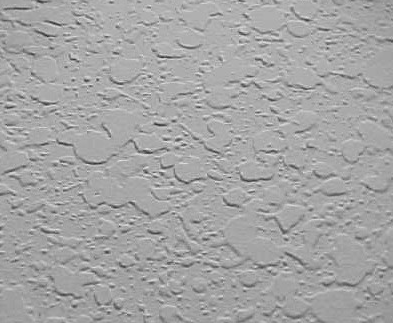
The three types of texture for a knockdown finish are stomp, splatter, and mud trowel.
Each one is slightly different and requires its particular application method and tools. Here is a description of each:
1. Stomp Knockdown Wall and Ceiling Texture
Stomp knockdown texture is named after the technique by which it is made.
After the drywall compound is applied to the wall with a sprayer, it is “stomped down” with a towel or a crows-foot brush to create a flattened surface but still somewhat textured.
It is often used to create an industrial or rustic look.
Of the three, this technique creates the most textured look because of its higher elevation from the surface.
However, applying it is a longer process than the other two because the additional stomping step is required.
2. Splatter Knockdown Ceiling and Wall Texture
The texture is created by spraying the drywall joint compound onto the wall with a hopper gun in a random pattern.
After it has dried, a trowel is used to flatten the peaks, resulting in a low-profile texture that covers almost half of the surface.
Of the three textures, this one is the most subtle. It is also the most popular because it has the appealing look of “Spanish lace” stucco.
3. Mud Trowel Knockdown Ceiling and Wall Texture
Also known as “skip trowel,” this texture is achieved by applying a thick layer of drywall compound to the wall or ceiling using a trowel.
The elevated peaks are then smoothed and flattened with a curved-blade trowel.
The mudded area is skimmed with a clean towel, causing the mud to “skip” across the surface.
Because this process requires hand troweling, it takes more time to apply than splatter.
Required Tools and Materials for Knockdown Wall Texture
Whether you are a professional painter working on a large project or a DIYer just doing a room or two, specific tools and materials are necessary to apply knockdown texture to walls and ceilings.
Here’s what you will need for the job:
- Knockdown texture mix is available at most home improvement and hardware stores.
- Texture sprayer or hopper gun kit: This tool can help you apply the knockdown texture to your walls.
- Air Compressor: You’ll need this to power the texture sprayer if you are using one.
- Drywall knife or trowel: An 18” length is recommended.
- Sandpaper
- Paint roller and tray
- Painter’s or masking tape
- Drop cloth or tarp
- Two-gallon bucket
How to Apply Knockdown Texture
You can make a knockdown texture by watering down the joint compound for a soupy consistency. You then use a trowel to apply it to the wall or ceiling.
As it dries, it forms stalactites, which are knocked down by the trowel, resulting in a pocked or mottled finish.
You can also apply texture mud with a texture machine, i.e., a compressor and spray hopper, which sprays mud instead of paint.
As the mud begins to dry, you can skim it with a knockdown knife. This results in a splatter coat.
So, let’s get started. Here are steps to apply knockdown textured ceiling and walls.
Depending on the style you are going for, you can apply knockdown texture in a light, medium or heavy consistency.
Step 1 – Prep Work
This is the step you would take to execute any wall or ceiling repair, remodel, or improvement, such as spackling or painting.
The knockdown compound can be pretty messy! Remove all furnishings from the room, or cover them with drop cloths, and remove wall-mounted light fixtures.
Use masking tape to protect electrical covers, baseboards, and a tarp to protect the floor. Now it’s time to get out your goggles and dust mask.
Step 2 – Prepare a Smooth Surface
Repair any bumps or dents in the walls so they are clean.
Fill holes and cracks with spackling paste.
Sand down the area along with any rough spots, and then apply a coat of primer.
Step 3 – Mix the Drywall Compound and Prepare the Drywall Hopper
Simple! Just mix the drywall compound by following the instructions on the package until it has the consistency of pancake batter.
Next, pour the mixture into the drywall hopper.
Step 4 – Test the Drywall Compound
Test the drywall compound on a small area before you start spraying the walls to make sure it’s the right consistency and texture.
You might need to add more water to get it right.
Step 5 – Test the Sprayer
Test the sprayer to ensure it is functioning correctly, and adjust the nozzle if necessary. Ideally, the nozzle should measure 8 to 12 millimeters.
Step 6 – Apply the Drywall Compound with the Sprayer
Set the pressure on your air compressor to 30 – 40 psi.
Find a spraying speed that provides the texture weight you want by test spraying the mud onto a test sheet of drywall from 18” away.
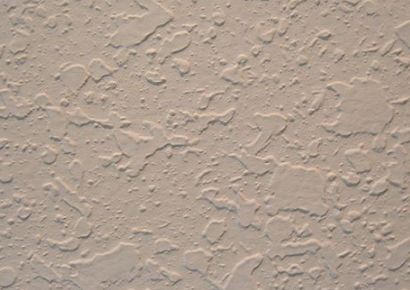
You’ll find that the more rapidly you spray, the thinner the texture spray becomes.
Now you can begin to apply the mud to the surface you want to cover.
Do this from 18” away in three-foot sections.
Step 7 – “Knock Down” the Sprayed Texture
After approximately 15 minutes, the mud will start to dry.
Then, you can flatten the peaks with your knockdown knife or trowel in a straight line down the surface.
Take care not to wipe out the texture completely.
Step 8 – Cover the Entire Area with Texture, and Let Dry Overnight
Allow the drywall mud to dry completely before removing the tape and tarp.
It’s best to wait at least several days before applying primer and paint.
Knockdown Maintenance Tips
Now that you have created a beautiful knockdown texture on your walls or ceiling, you must keep it looking great. Here are a few tips:
- Avoid rough contact with the wall to prevent scratches and dents.
- Because dirt can accumulate on knockdown texture walls, especially in high-traffic areas, you must gently dust or vacuum the surface regularly.
- You can remove stains with one teaspoon of liquid dish soap and warm water applied to a paint roller. Avoid using harsh chemicals on the surface.
- Limit the amount of smoke from a fireplace or cigarettes.
- Touch up cracks or chips in the texture with a newly-made compound to prevent the surface from looking uneven or patchy.
- Repaint the wall or ceiling if it becomes discolored or faded. A fresh coat of paint will restore your wall to its original condition.
Knockdown Texture Tips and Tricks
If applying knockdown texture to your walls is a DIY home improvement project, you can cut out a few steps and make the project easier using simple household items.
Apply Knockdown Texture with a Sponge
This is a simple and cost-effective way to achieve the desired knockdown texture with a professional-looking finish.
You can begin following Steps 1 through 4 above to prep the room and prepare your mixture.
But instead of applying the compound using a hopper spray gun, you must use a dip sponge or a damp rag into the mixture, making sure to saturate it thoroughly.
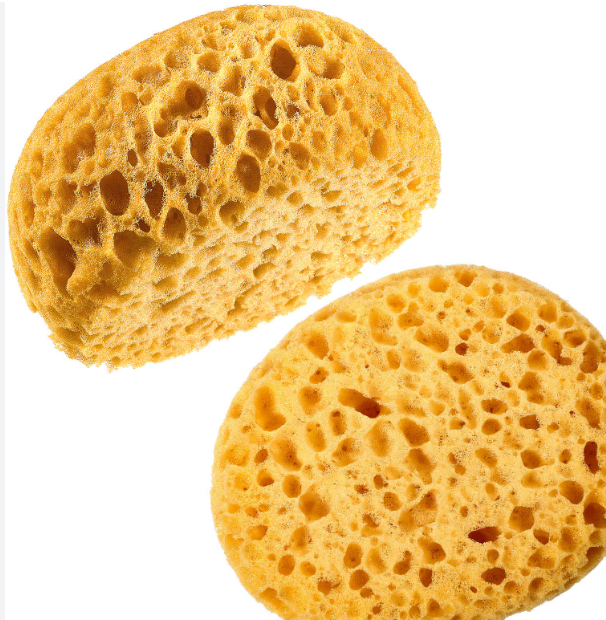
Then, apply the texture to the wall or ceiling in a circular motion, working in small sections. It should be applied thinly and evenly across the surface.
Afterward, you can continue to follow Steps 7 through 9 listed above.
Apply Knockdown Texture with a Roller
For this method, follow the instructions for applying a knockdown texture with a sponge.
However, instead of a dip sponge, use a roller dip with a thick nap by dipping it into the mixture to saturate it thoroughly.
In conclusion, knockdown texture is tried and true technique for creating a textured surface on a wall or ceiling quickly and affordably.
For contractors, handymen, painters, and homeowners alike, it can be accomplished with some basic tools and little practice. Try it – unlike popcorn ceiling texture, knockdown is a look that has yet to go out of style!
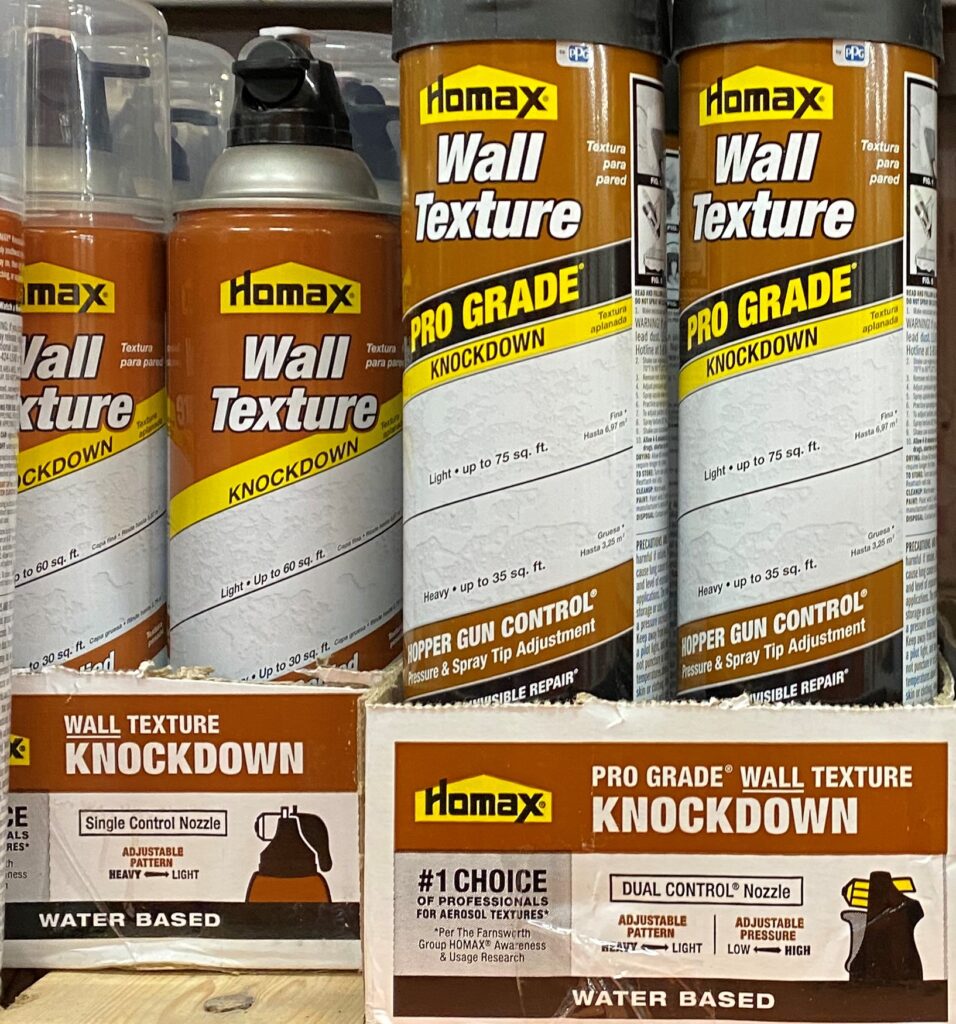
Knockdown Texture Supplies on Amazon –
Water-Based Homax Aerosol Knockdown Wall and Ceiling Texture –


